Zen Cart
Introduction
Zencart is an e-commerce website development software with an online store management system. Add the BillDesk Zencart plugin to seamlessly accept payments through this store.
Merchant can download the plugin with the following link.
Prerequisites
Ensure that the merchant has downloaded, installed, and configured:
- P6HP v8.0 and higher and MYQSL v8.0 and higher
- Zen Cart version 1.5.8
Dependency:
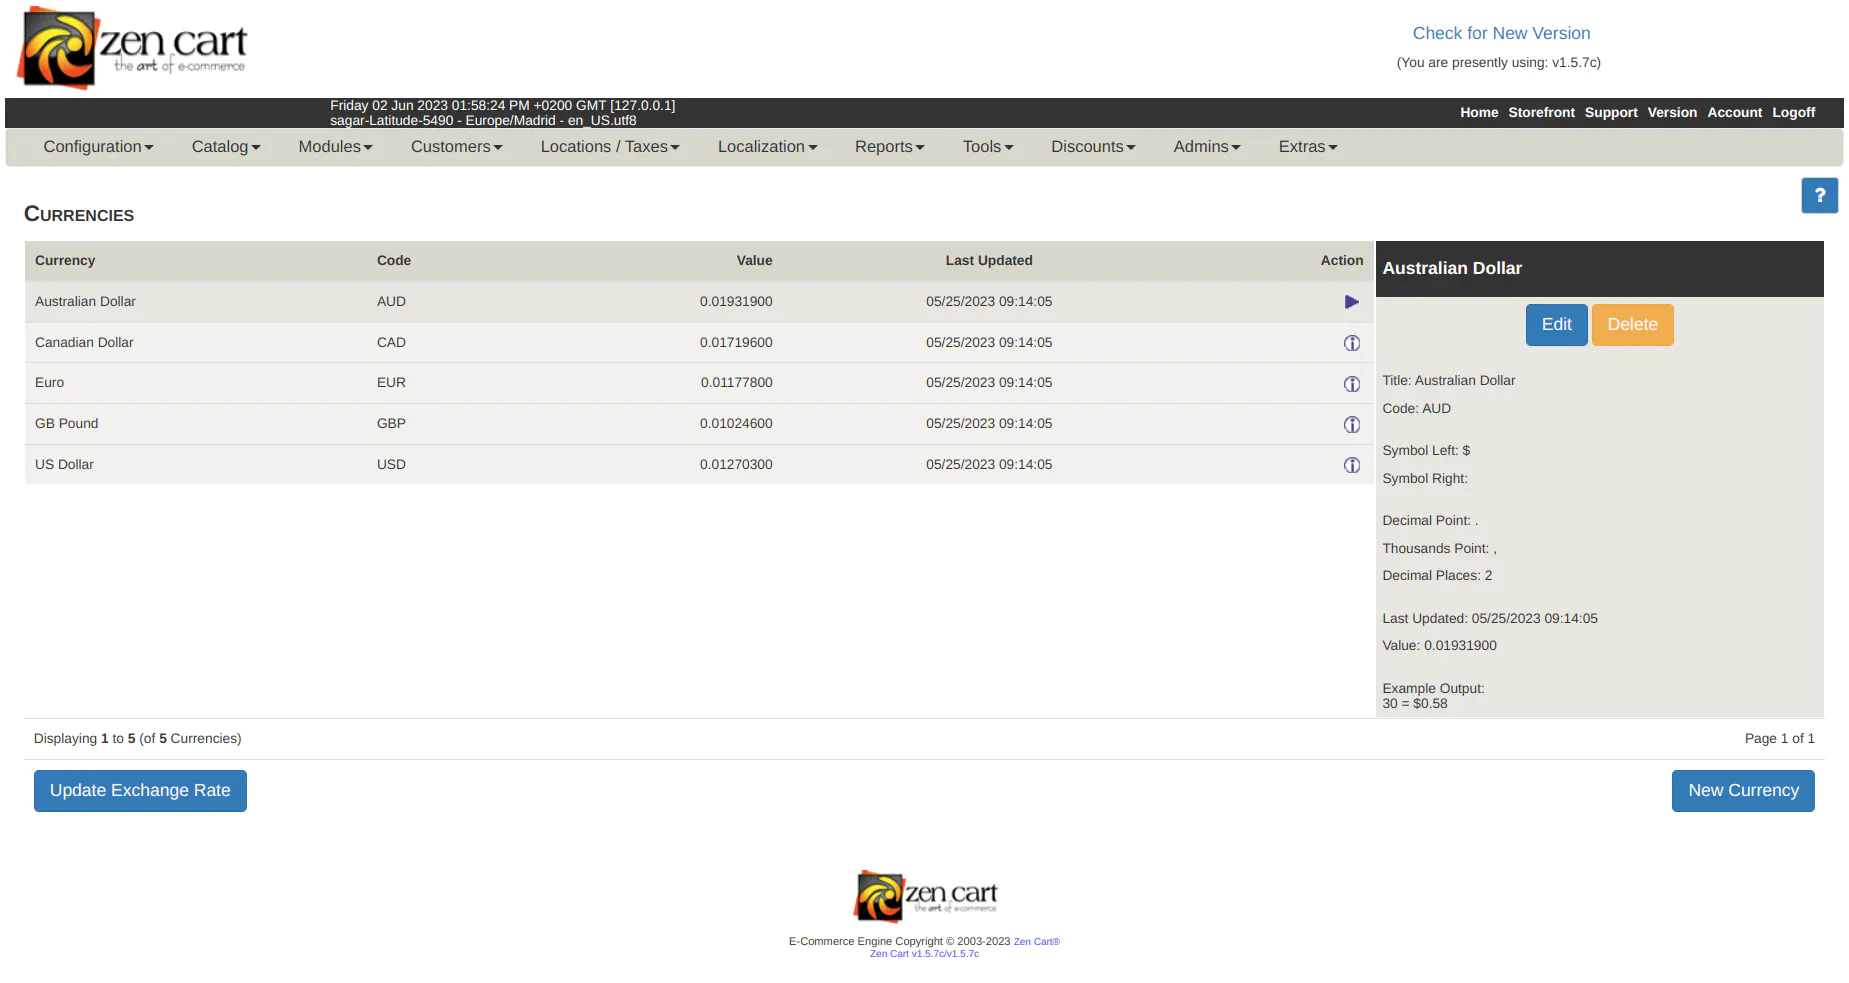
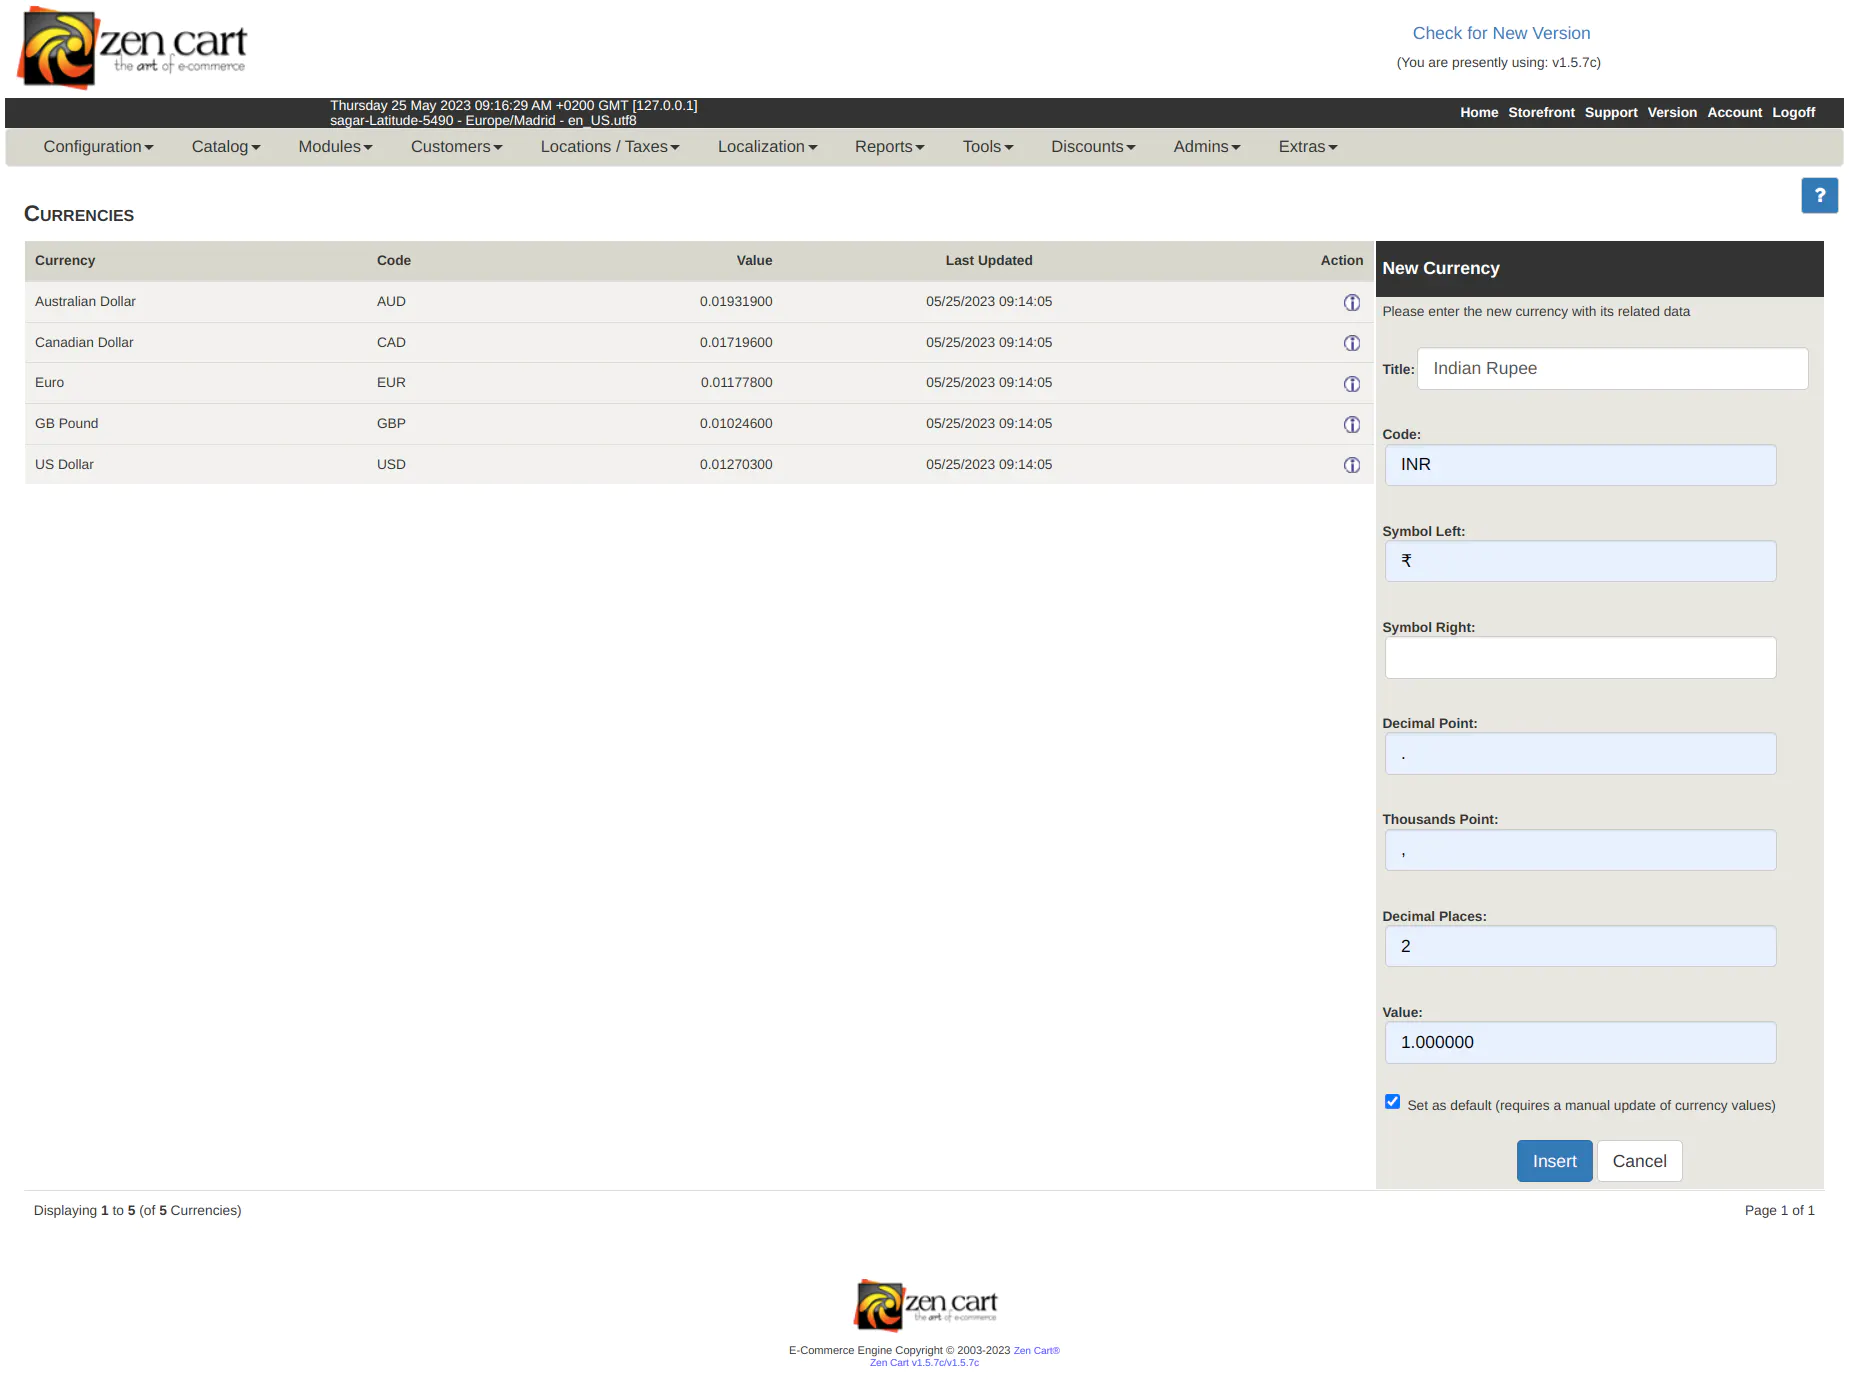
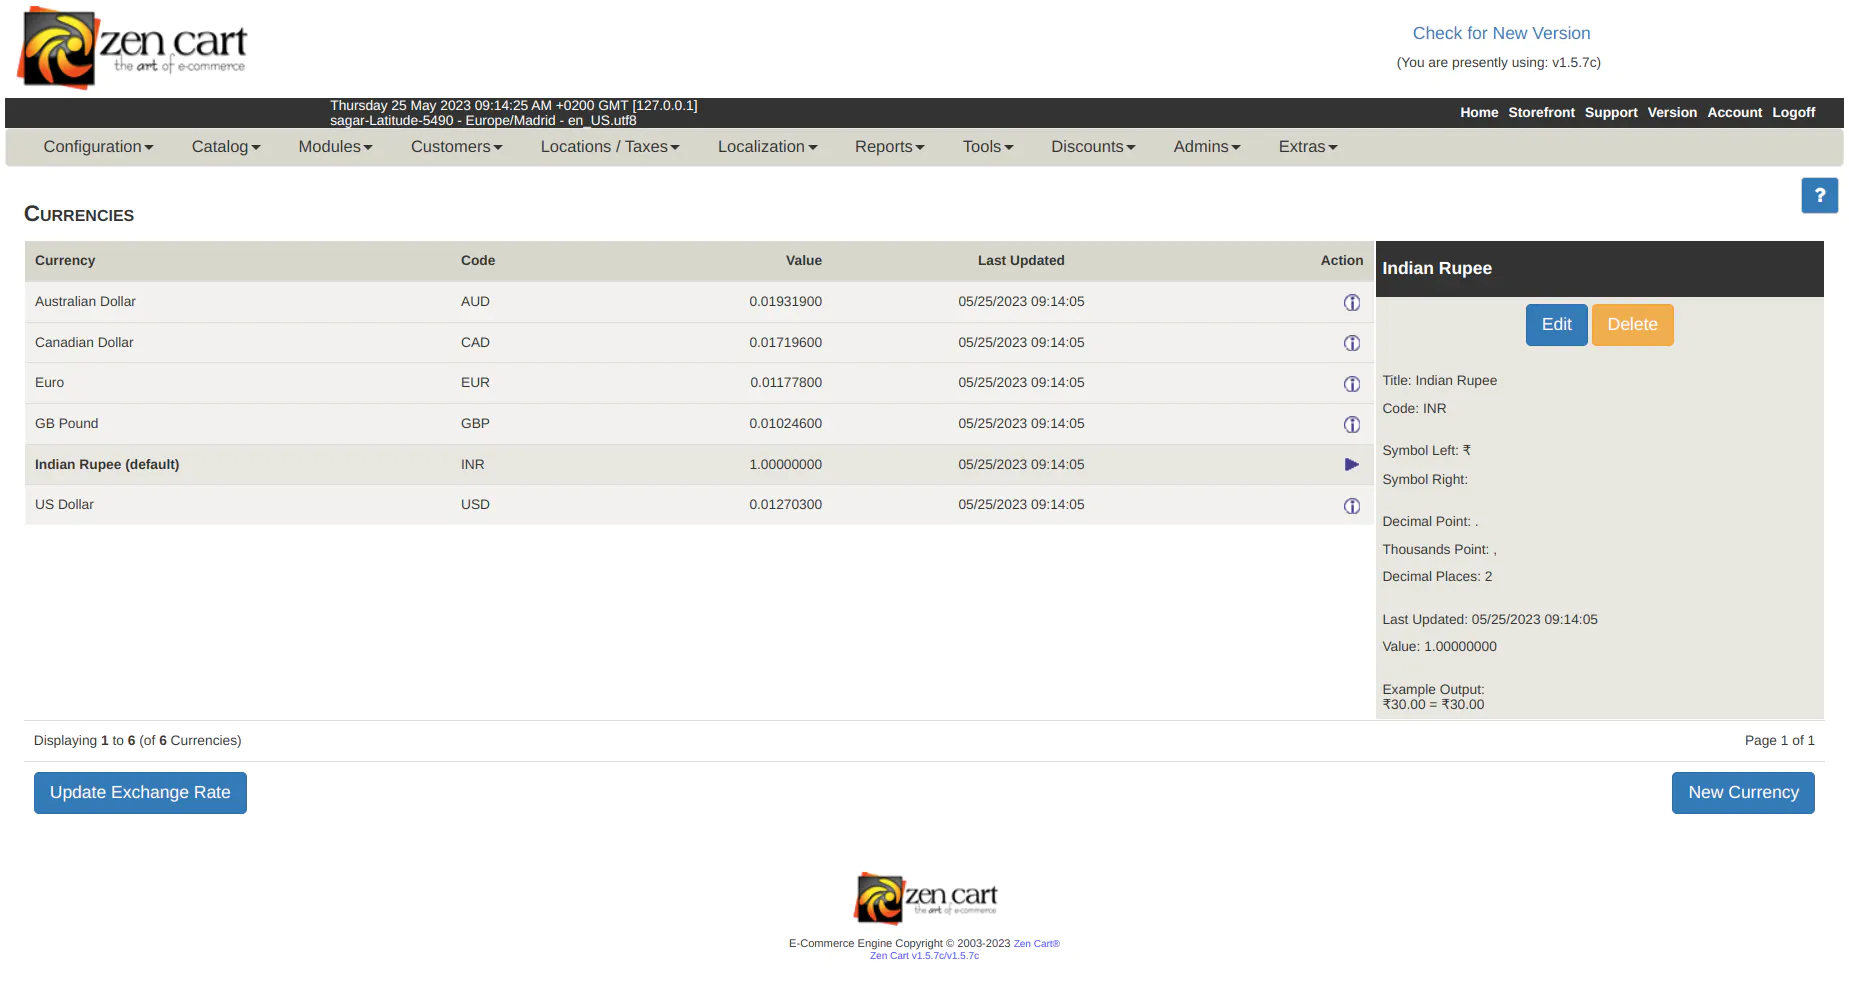
- Navigate to Localization → Currencies.
- Add 'Indian Rupee' by clicking on New Currency.
- Set as default by clicking on the checkbox and the Insert button.
- Once Indian rupee is added as a currency, it will be visible in the currency list.
Integration Steps
Installation
- Click on the Download button to download plugin zip file.
- Extract zip file and copy the billdesk folder and billdesk.php inside the zencart_installation/includes/modules/payment/ folder.
- Copy define(FILENAME_BILLDESK,billdesk); in the zencart_installation/includes/filenames.php file.
- Copy the lang.billdesk.php file in the zencart_installation/includes/languages/english/modules/payment folder.
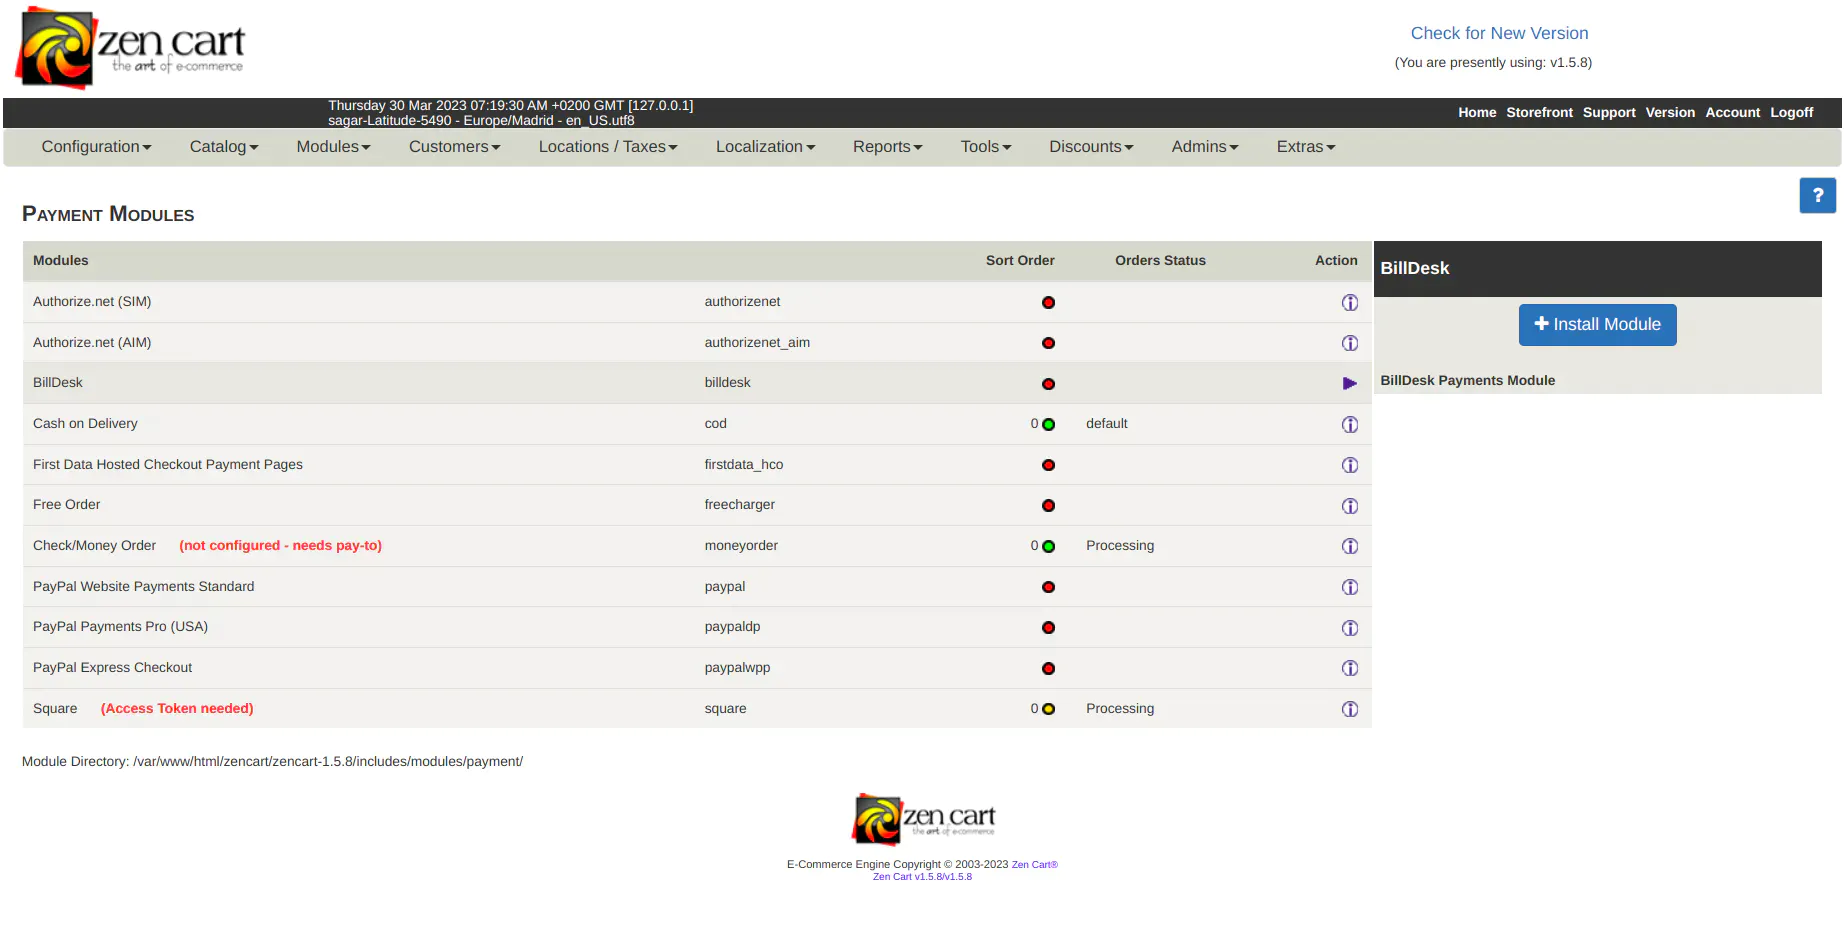
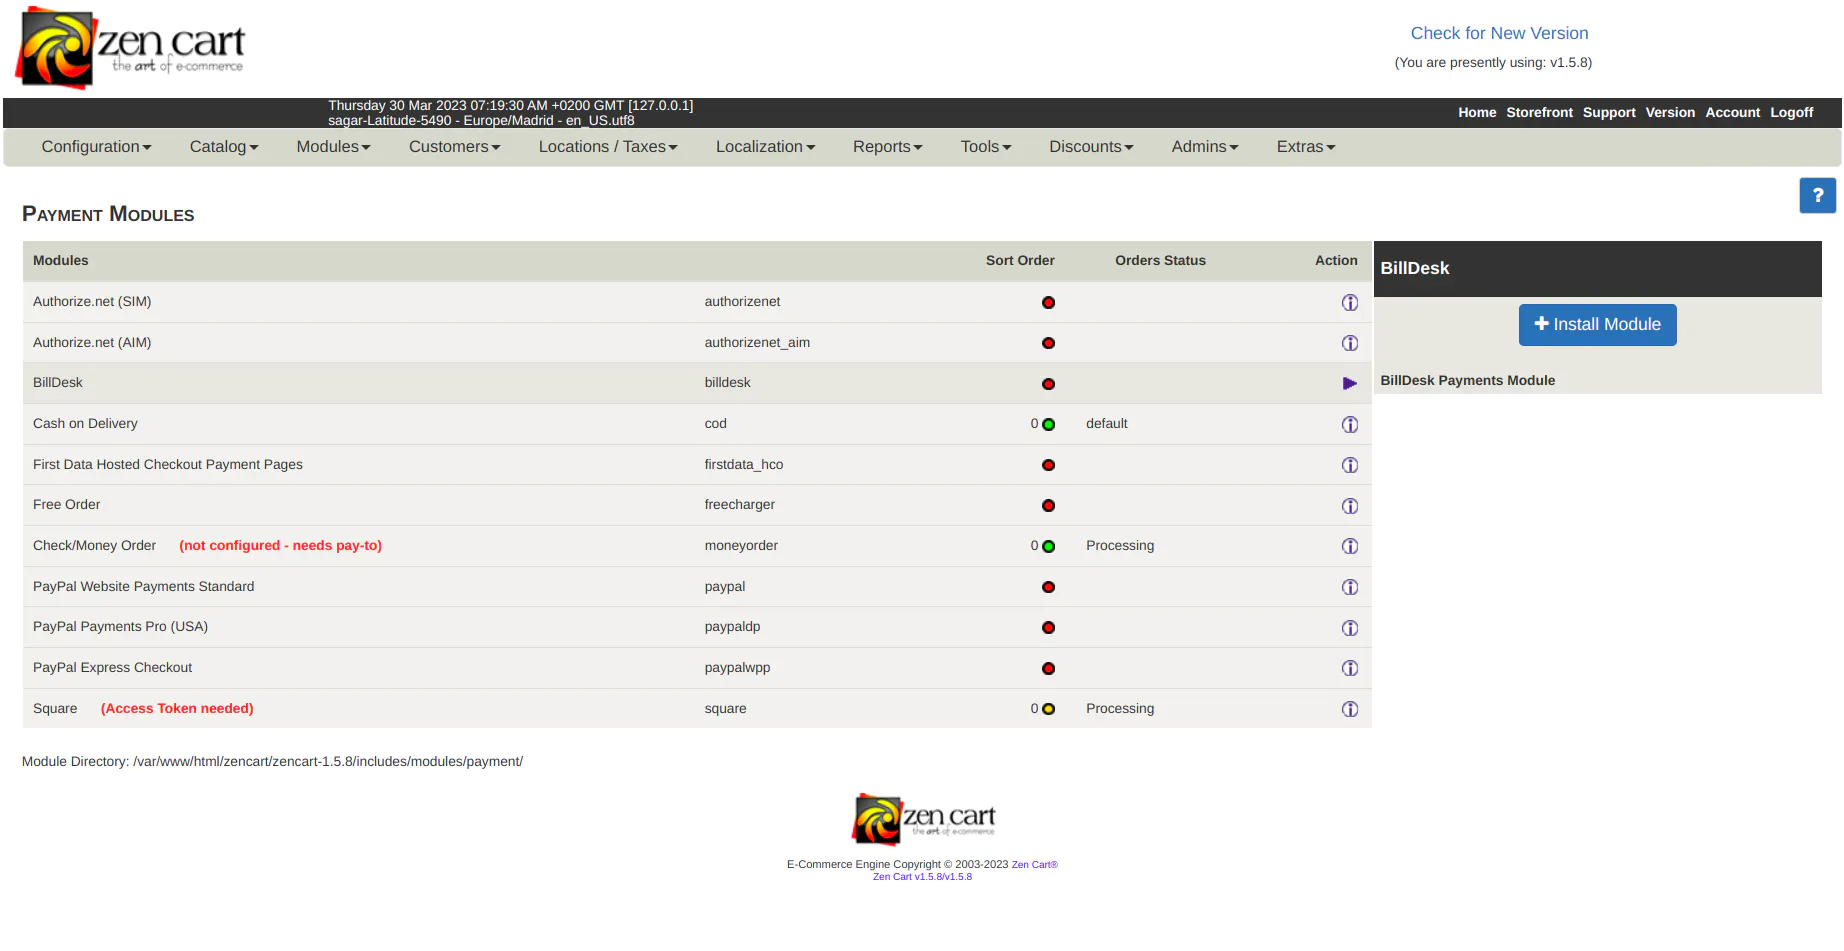
- Once the installation is complete, the merchant can verify module by clicking on Modules → Payment. The 'BillDesk' payment module is available under Payment Modules list.
Configuration
- Click on Modules → Payment.
- Click on BillDesk in Payment Module page.
- Install BillDesk module by clicking on the Install Module button.
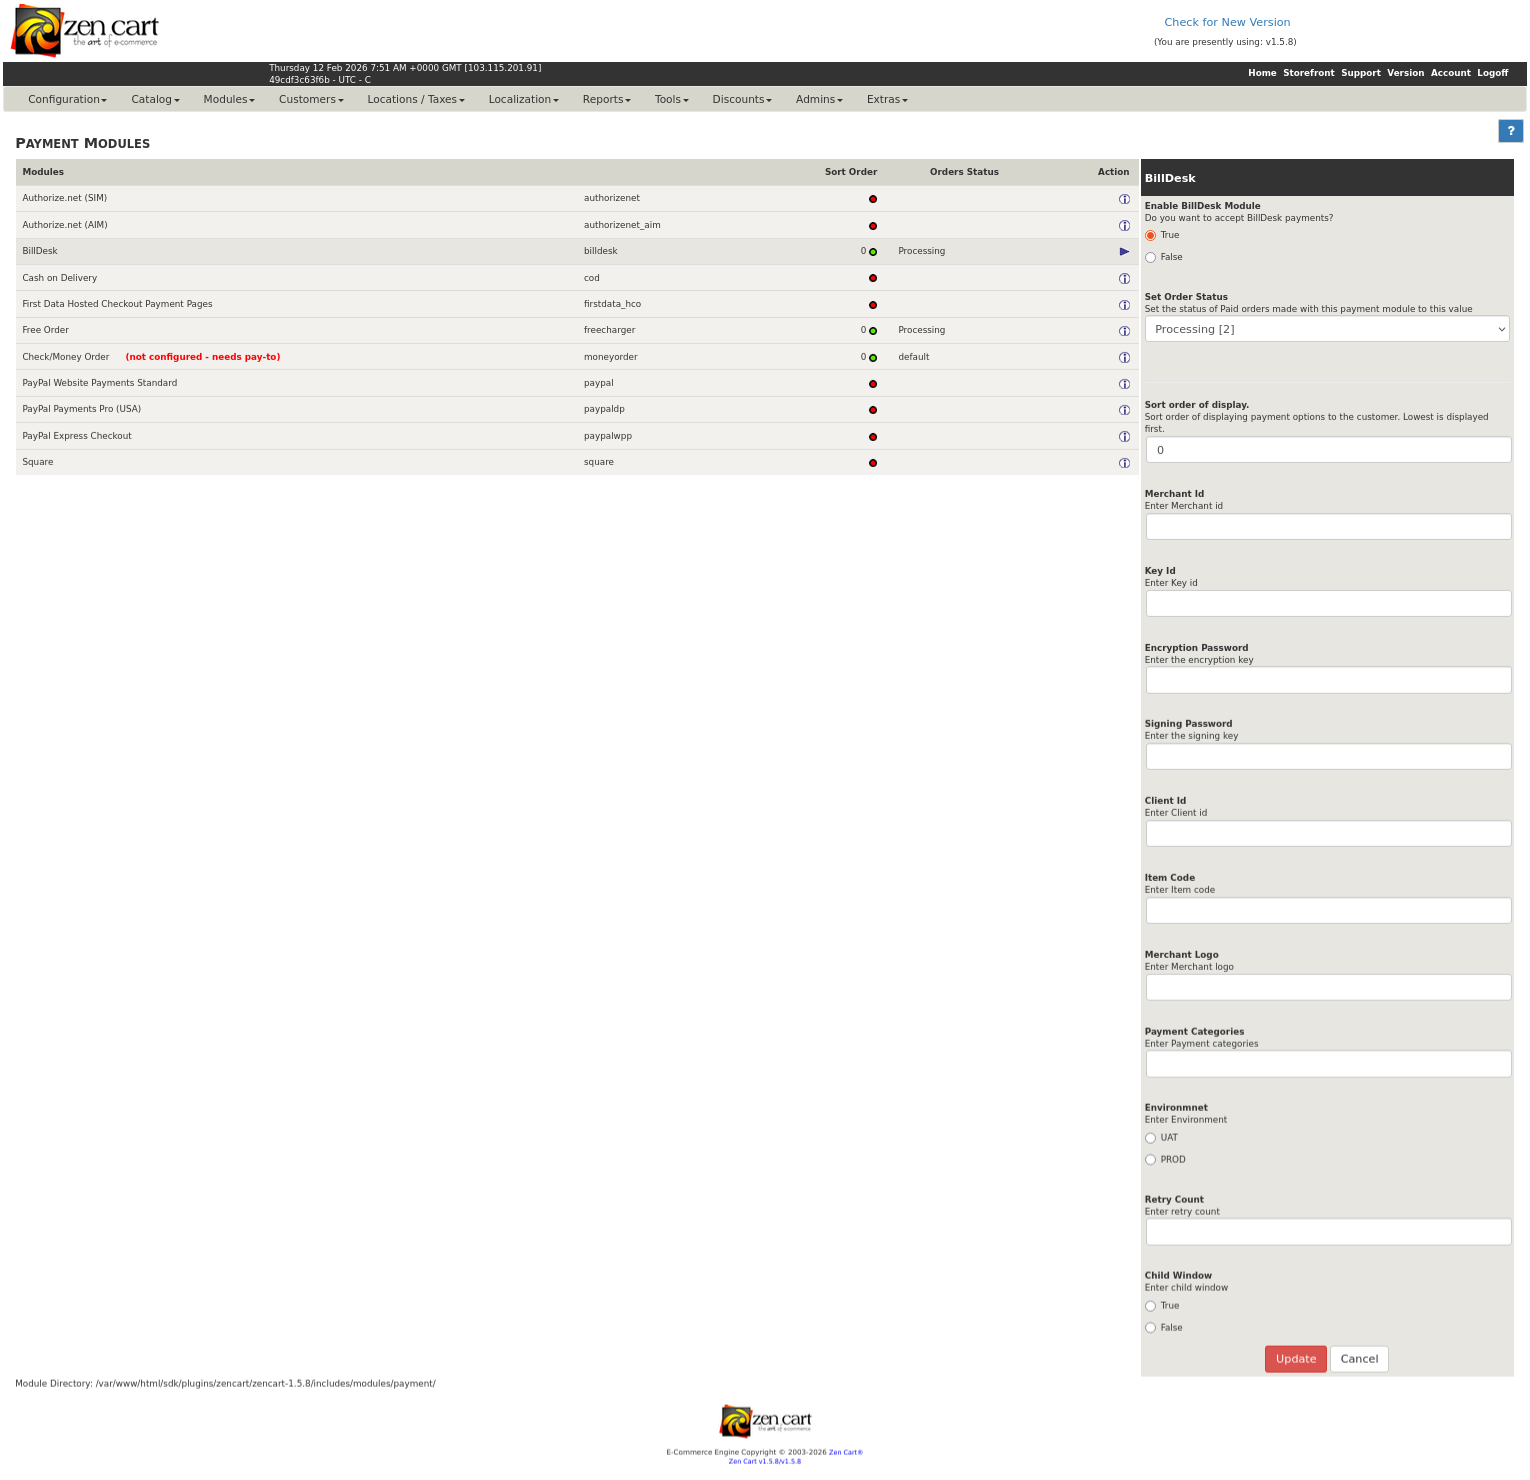
Merchant would have obtained necessary details like Merchant ID, Merchant Key, etc. from the BillDesk team.
-
Enable BillDesk Module- string - Set as True to enable BillDesk payment module.
-
Set Order Status- string - Set as Processing.
-
Sort order of display- string - Payment method order position on the payment page (Integer value).
-
Merchant Id - string - This is the unique id created by BillDesk to identify the merchant.
-
Key ID - The unique identifier of the public key shared by BillDesk
-
Encryption Key - string - An encryption key that is used to protect the communication with Payment Gateway APIs.
-
Signing Key - string - A signing key that is used to protect the communication with Payment Gateway APIs.
-
Client Id - string - A client ID shared by BillDesk for accessing the Payment Gateway APIs.
-
ISO Currency Code - string - Currency code (ISO 4217) for the currency to be used in the payment. For Indian Rupees, use code 356.
-
Item Code - string - Item Code as shared by BillDesk team.
-
Amount - number - Default payment amount for all payments. The amount up to 2 decimal places precision is accepted.
-
Environment - string - Enables switching between the UAT or Production environments. Depending on this configuration, the plugin will connect to the UAT or production URLs.
-
Merchant Logo - string - A URL or Base64 encoded logo of the merchant that will be visible on the payment dialog.
-
Payment Categories - string - Merchant can configure Allowed Payment categories at the BillDesk backend. This ensures that only the configured payment categories enabled for the merchant will be displayed. However, this option also allows the merchant to override the payment category configuration. For example, if a merchant wants to show cards as the only payment option, they can configure it using this setting. Merchant must mention all allowed payment methods as comma-separated values.
Note: Payment methods can have dynamic names. The valid payment category codes are as follows:
Allowed values: [card, emi, nb, upi, wallets, qr, gpay] -
Retry Count - number - Controls the number of payment re-attempts that should be allowed to users on failed payment.
-
Child Window - Enables or disables the child window.
-
- True - In this case, a new window will open for the OTP 2FA screen.
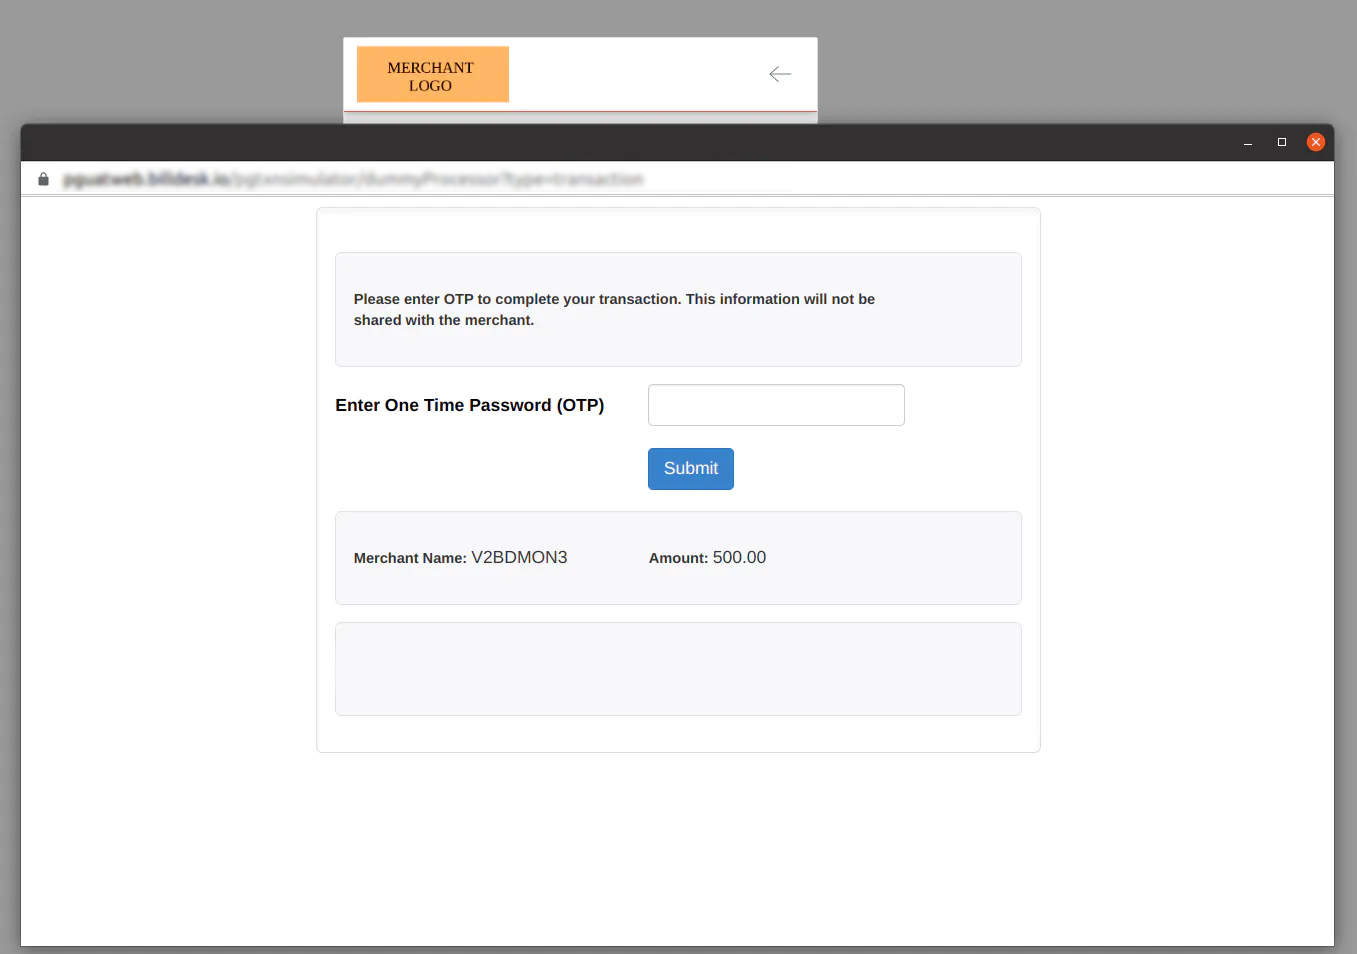
- False - In this case, the OTP 2FA screen will open in the same window.
-
Activate Amount Editable - Checking this option allows users to input their own amount. The users are presented with a text input for the amount, which is pre-populated with the default amount configured above. The user can change the amount to any other amount and initiate payment. This option is more suitable for use cases like donations, where the merchant would like the user to choose an amount.
-
Activate PAN Editable - Select this option to allow users to input their PAN.
-
Activate Billing Address Editable - Select this option to allow users to input their Shipping Address.
Click on Update to save changes.
SuccessAt this stage, the BillDesk extension is fully configured. Merchant can now accept payments via the BillDesk payment integration.
Features
Payment
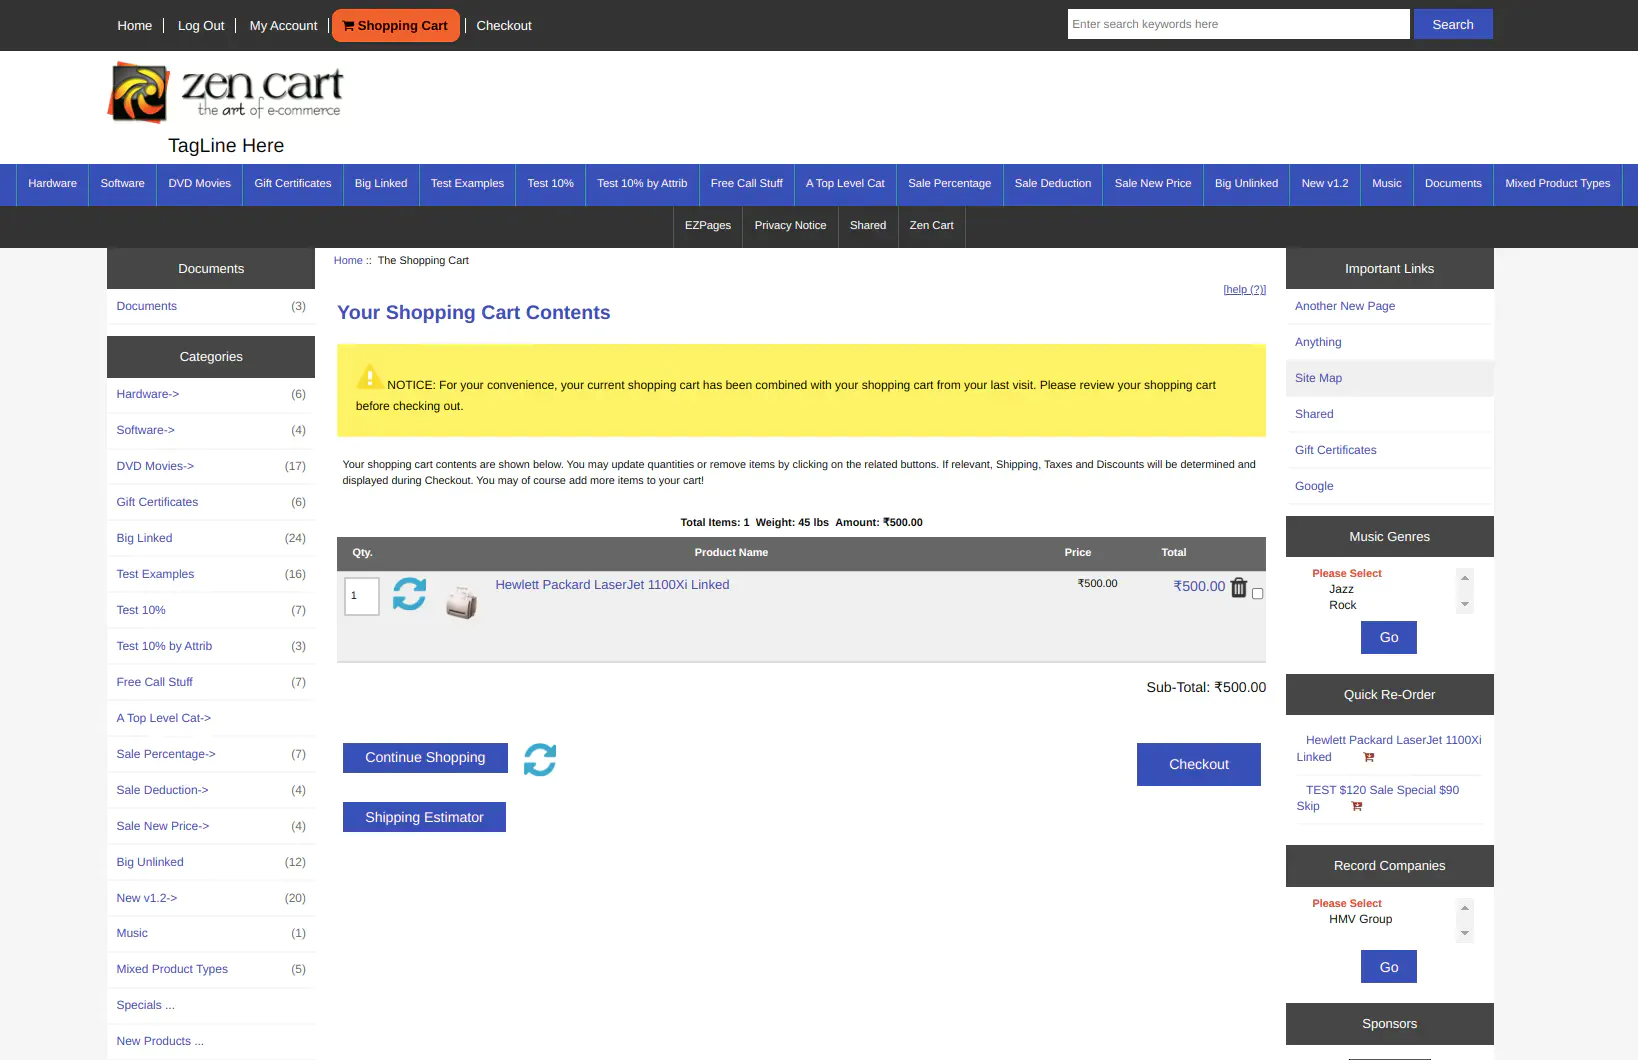
- In the store, add a product to cart and click on Checkout.
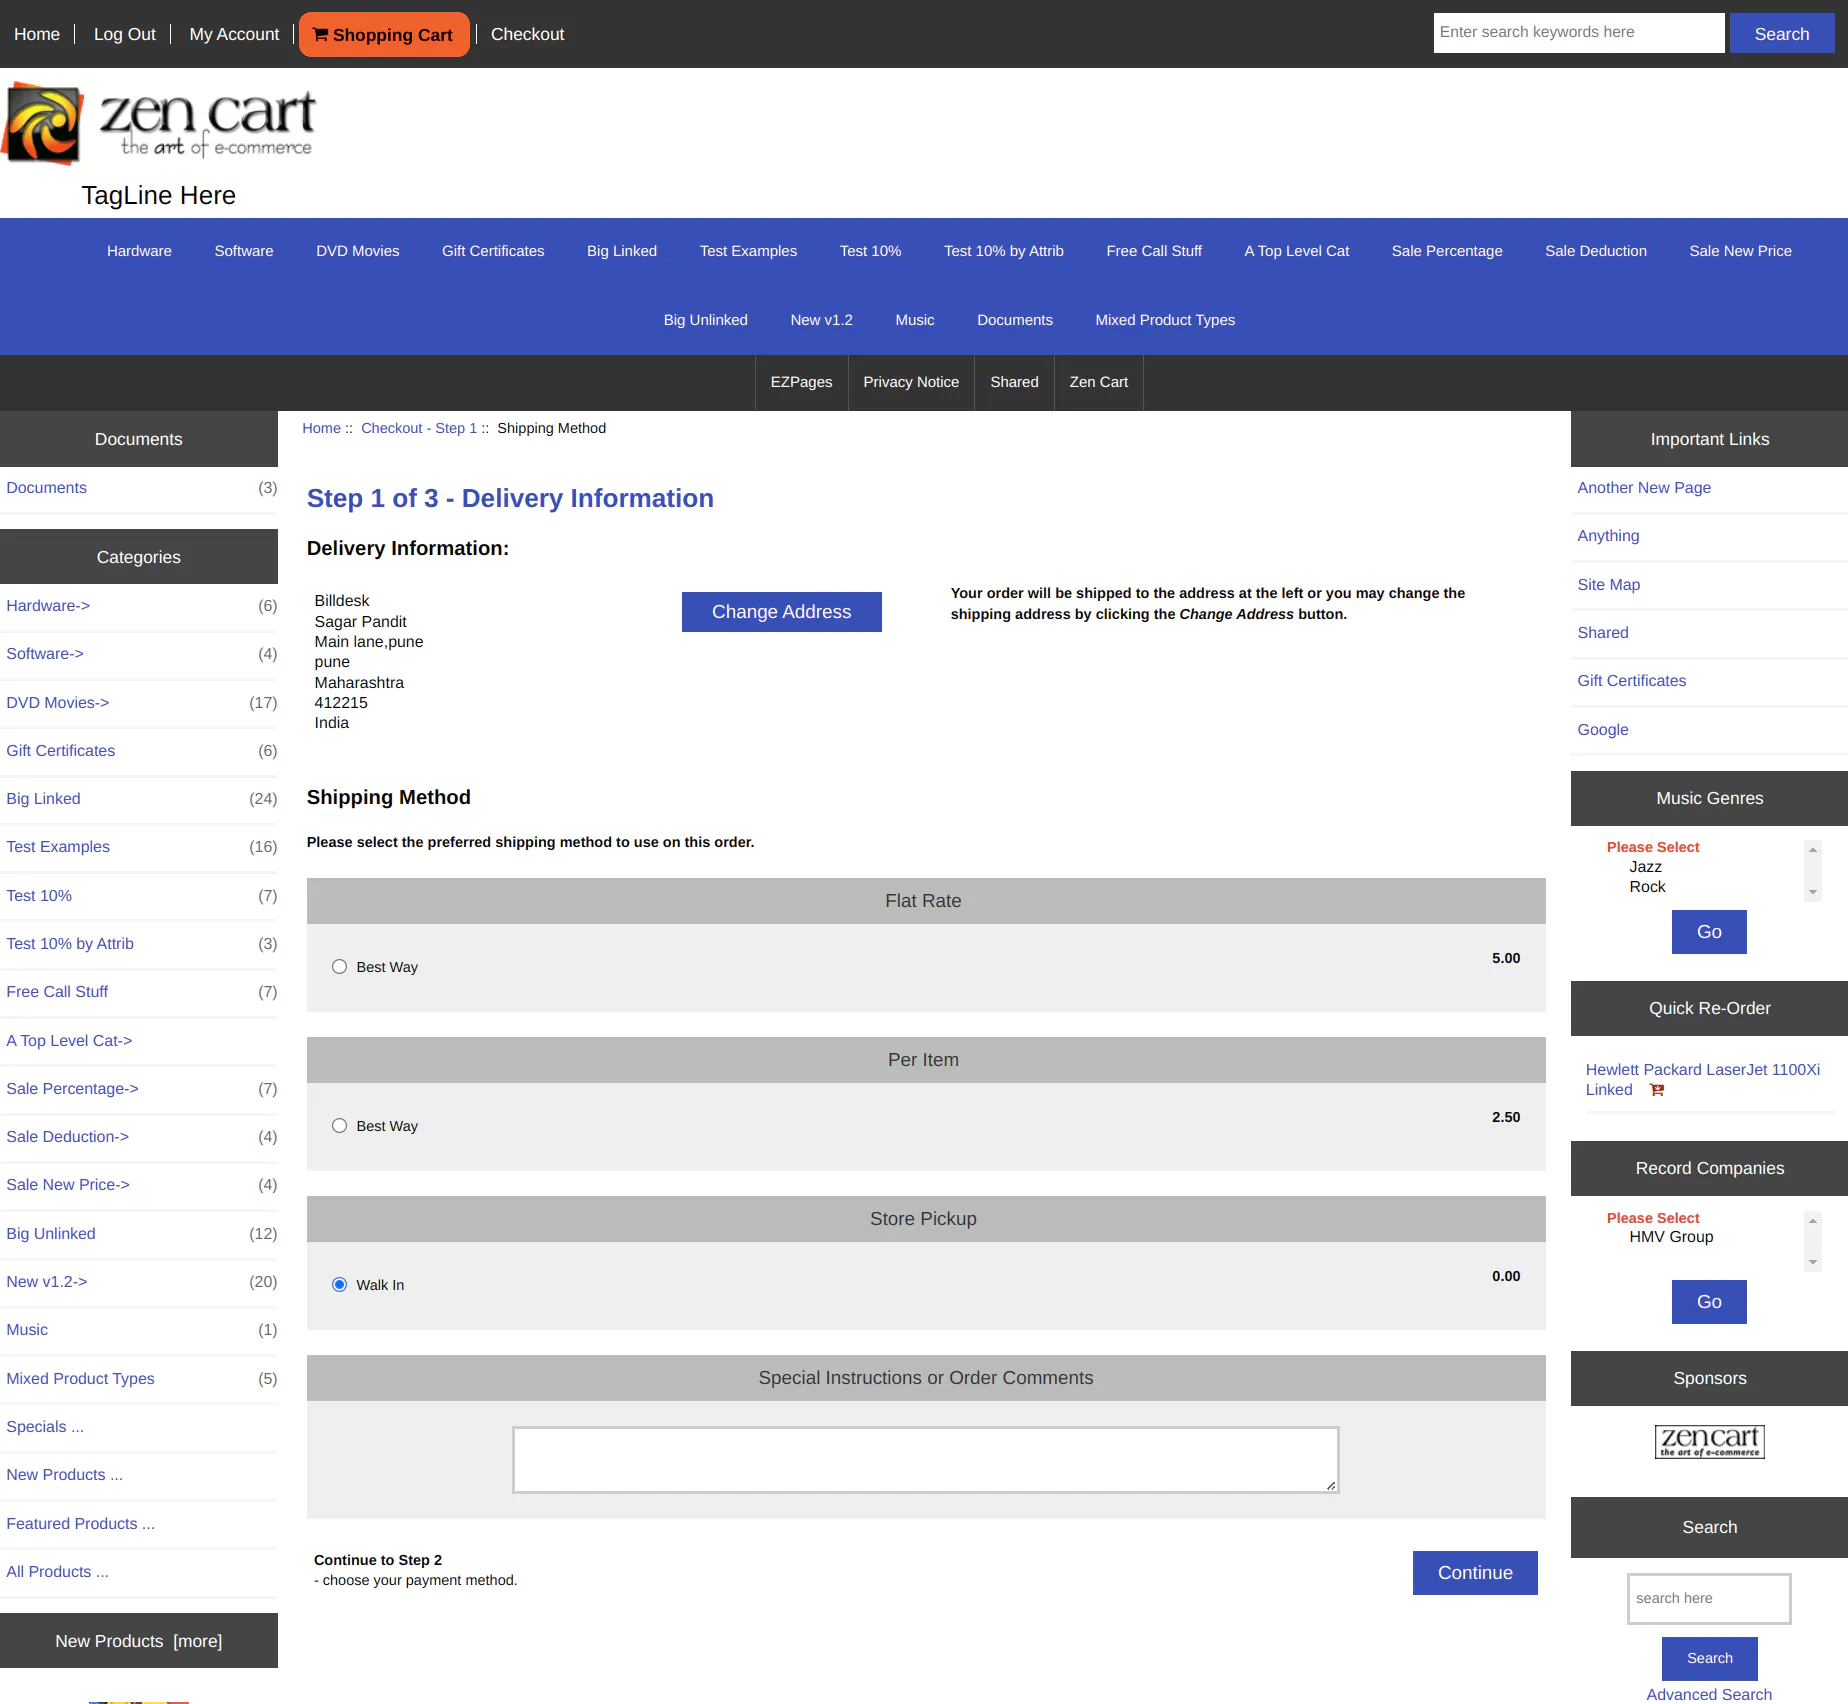
- Select a relevant Shipping Method and click on Continue.
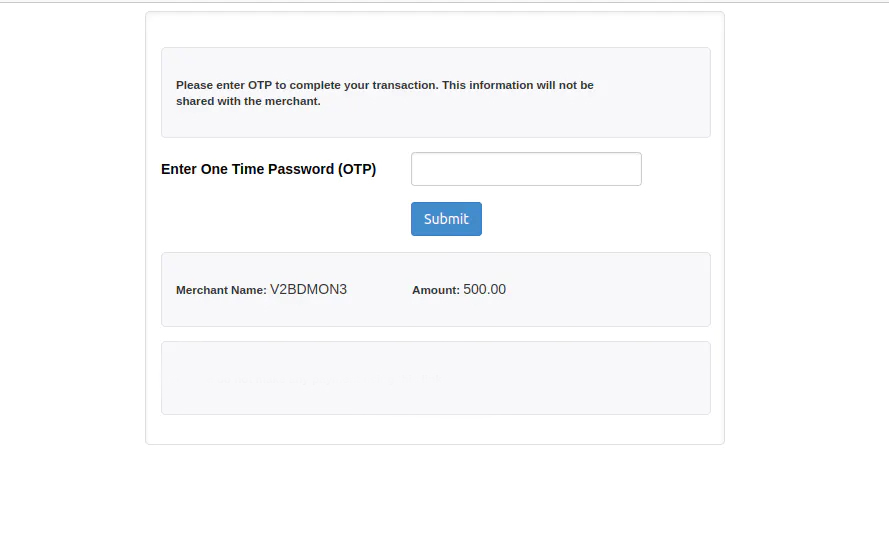
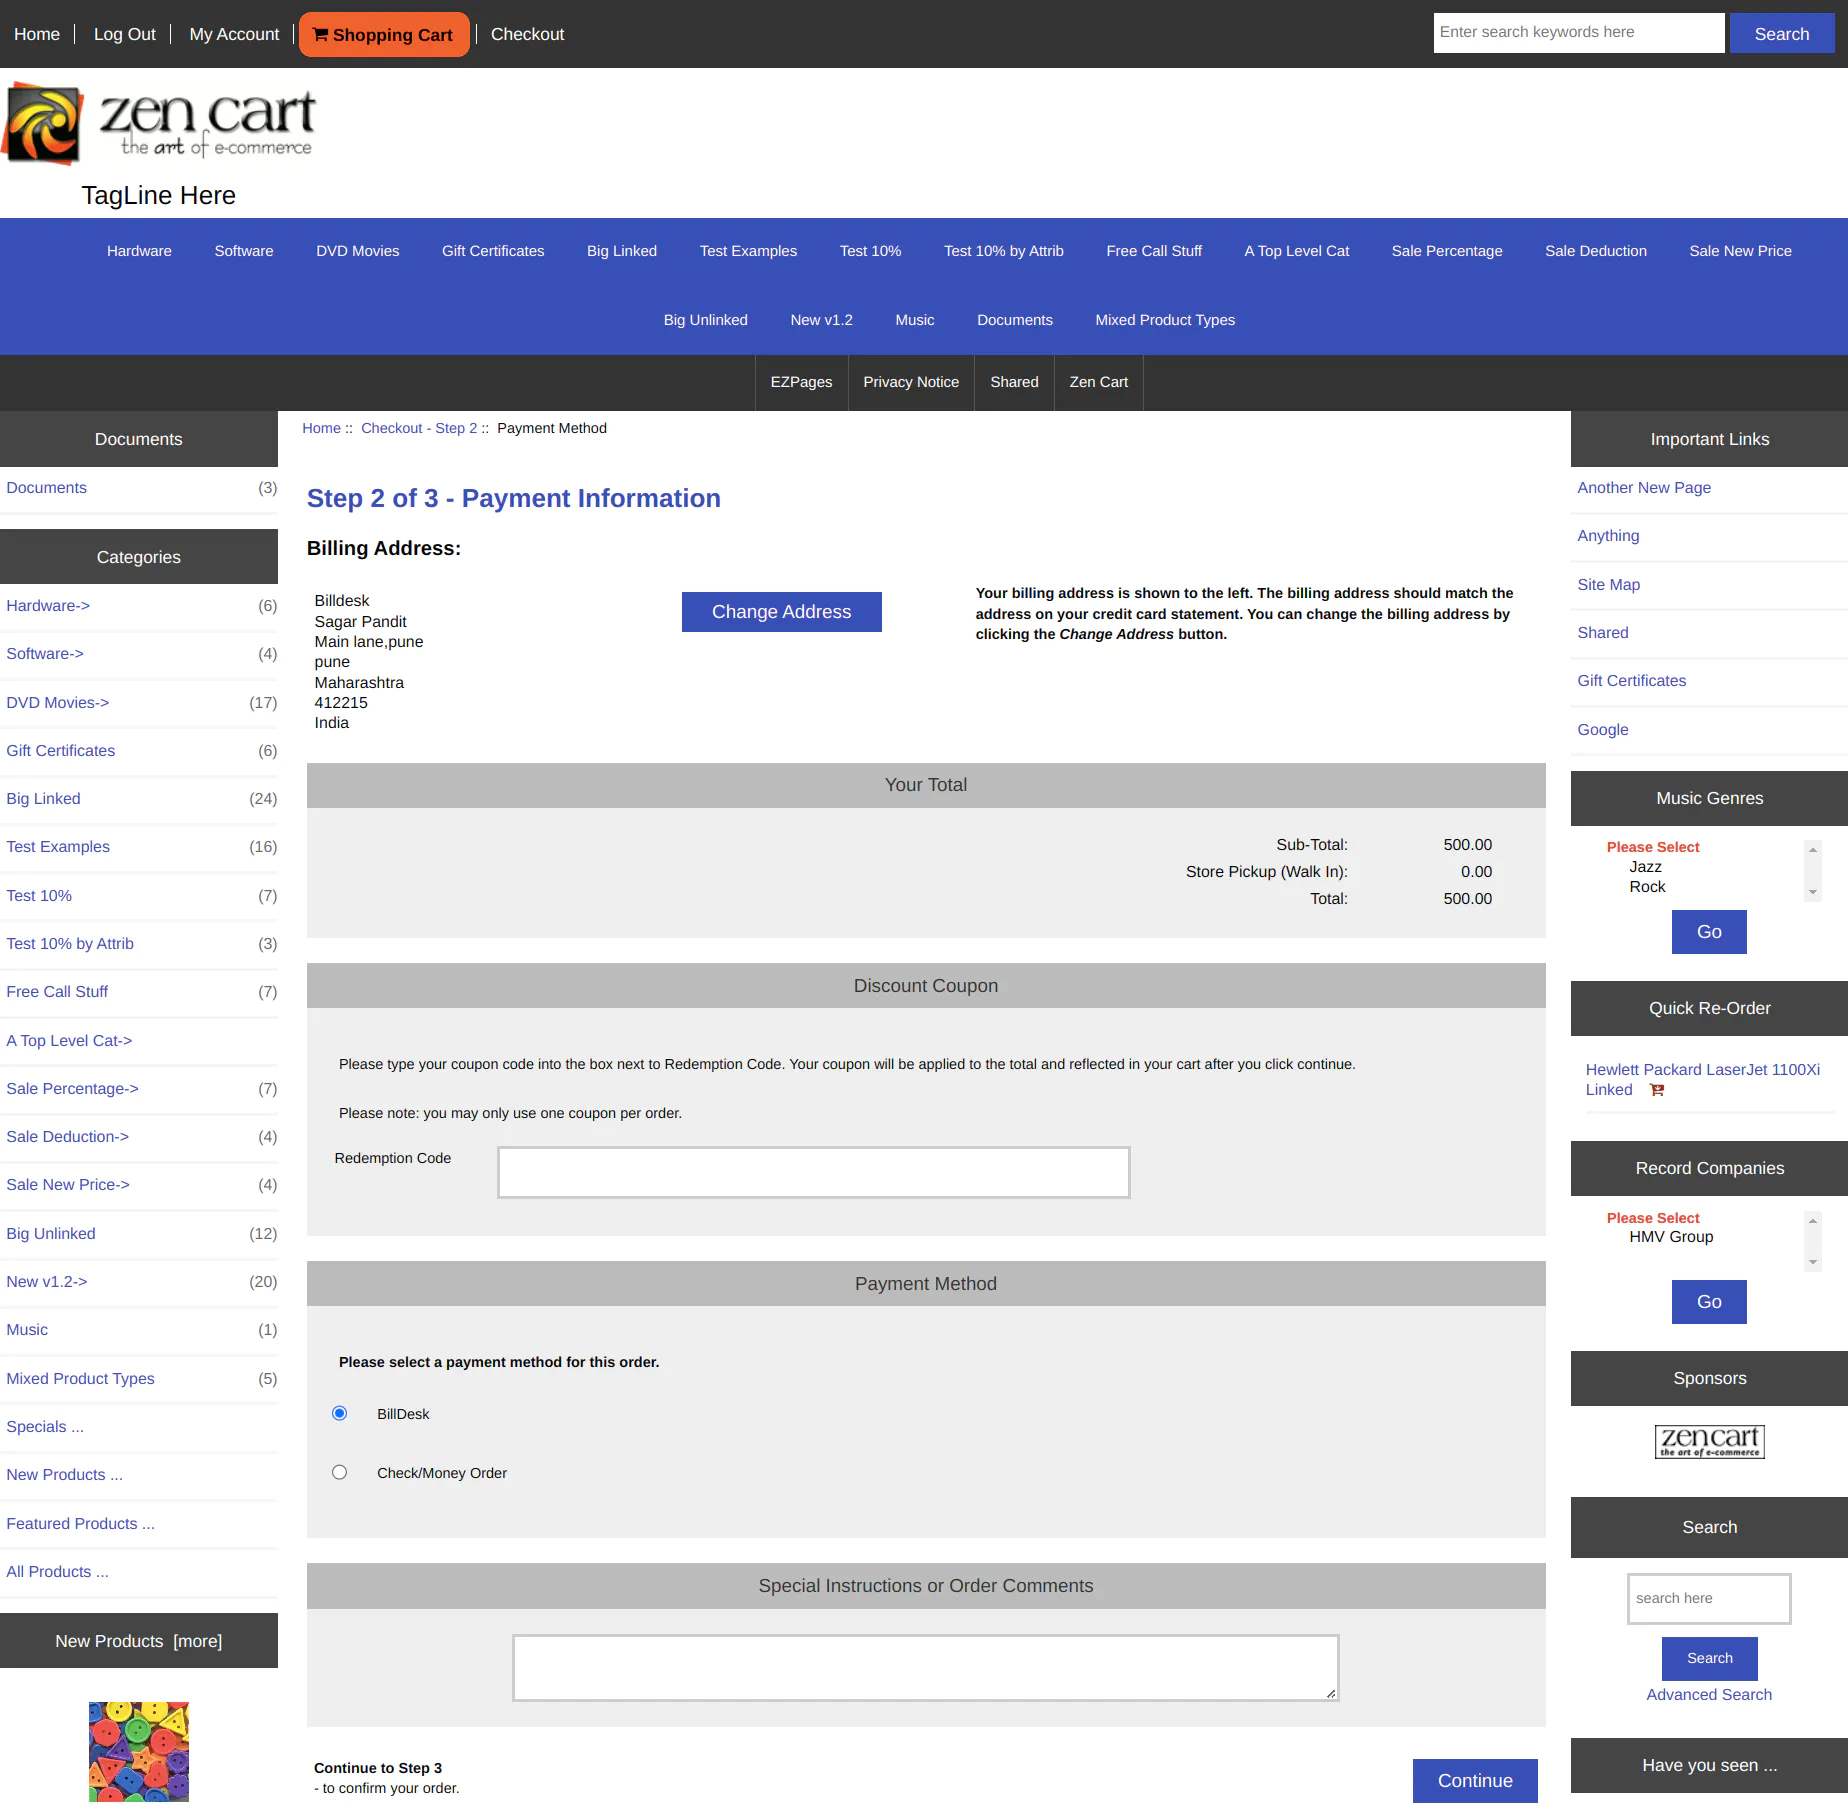
- Select BillDesk as payment method for the order and click on Continue.
Order Listing
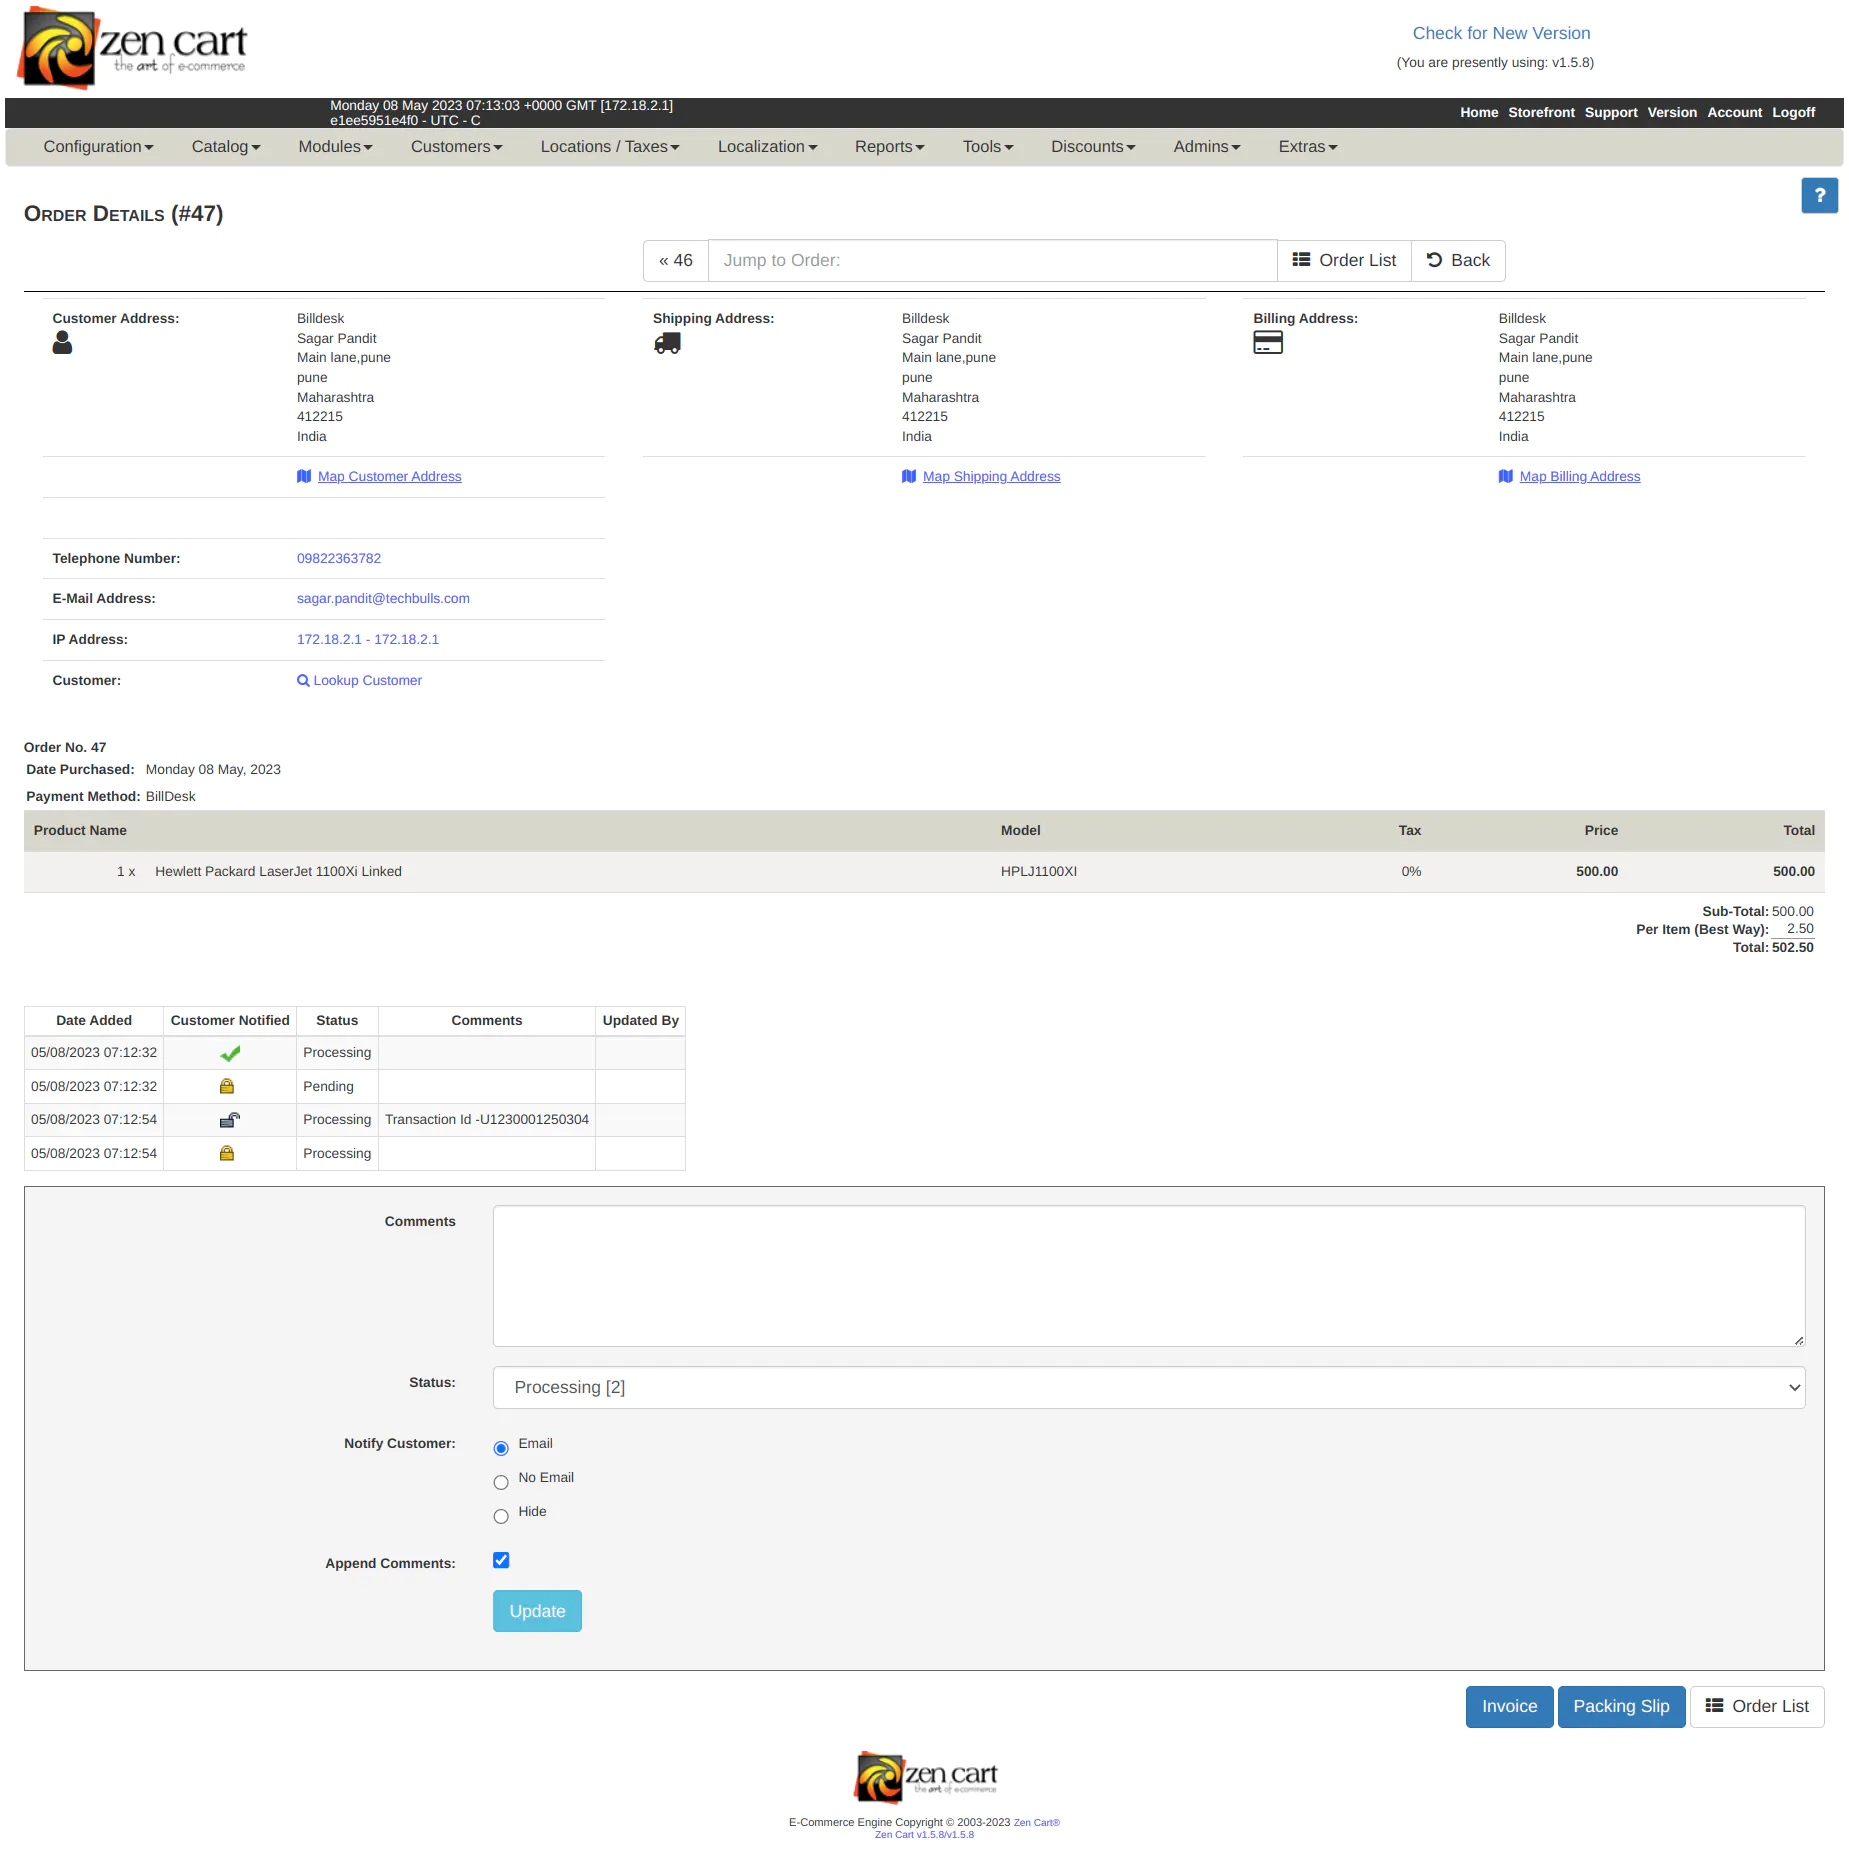
All orders can be seen under Customers → Orders.
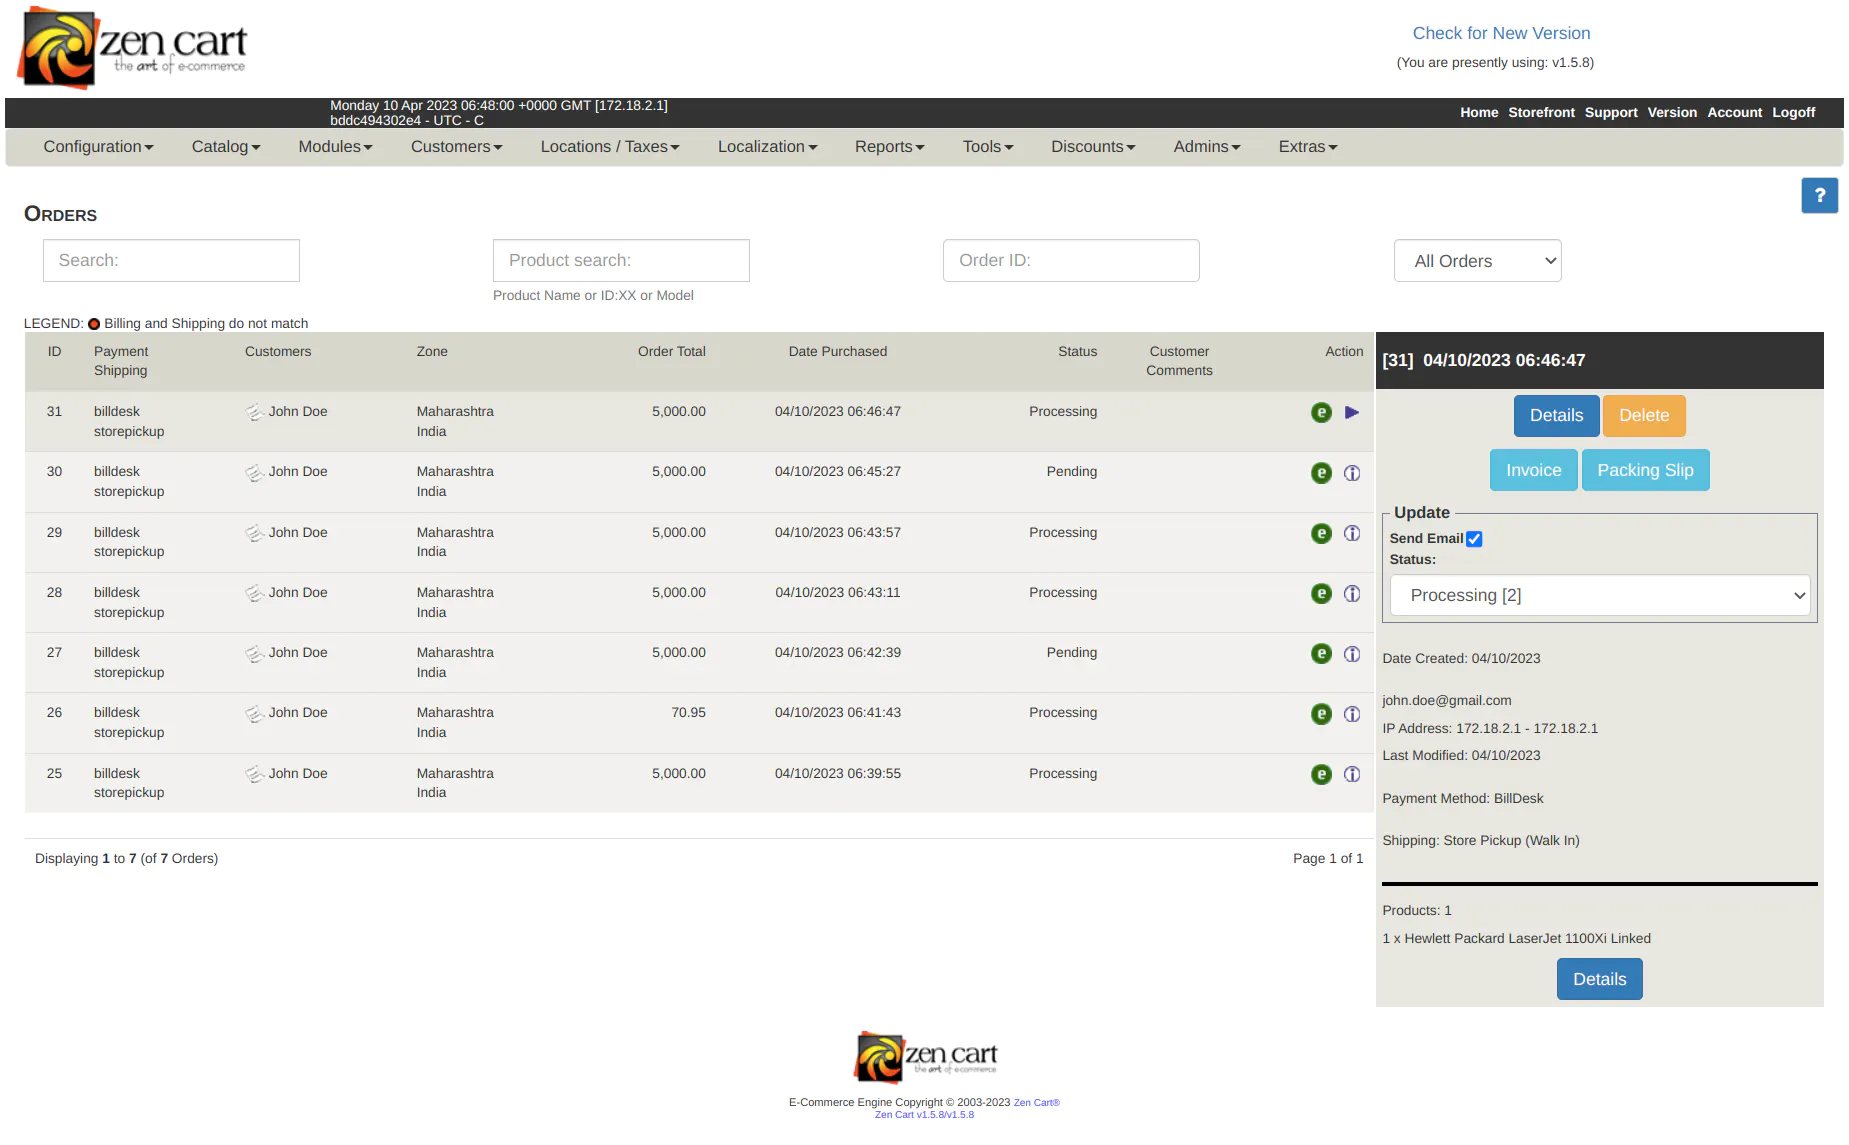
BillDesk Transaction ID will be visible under the Comments column of the Order Details page.
Troubleshooting
For Zen Cart, logs can be viewed at log/Billdesk/zencart_billdesk_yyyy_mm_dd.log, where the merchant can check the reason of failure.