Drupal Commerce
Introduction
Drupal Commerce is an open-source e-commerce software offering a single platform combining content, products and order management. Add the BillDesk Drupal Commerce plugin to seamlessly accept payments through the store.
Merchant can download the plugin with the following link.
Prerequisites
Ensure that the merchant has downloaded, installed, and configured:
- Drupal Commerce (https://www.drupal.org/download)
- PHP version 8.1
Merchant must have Drupal Commerce and the Cart, Customer, and Payment sub-modules enabled.
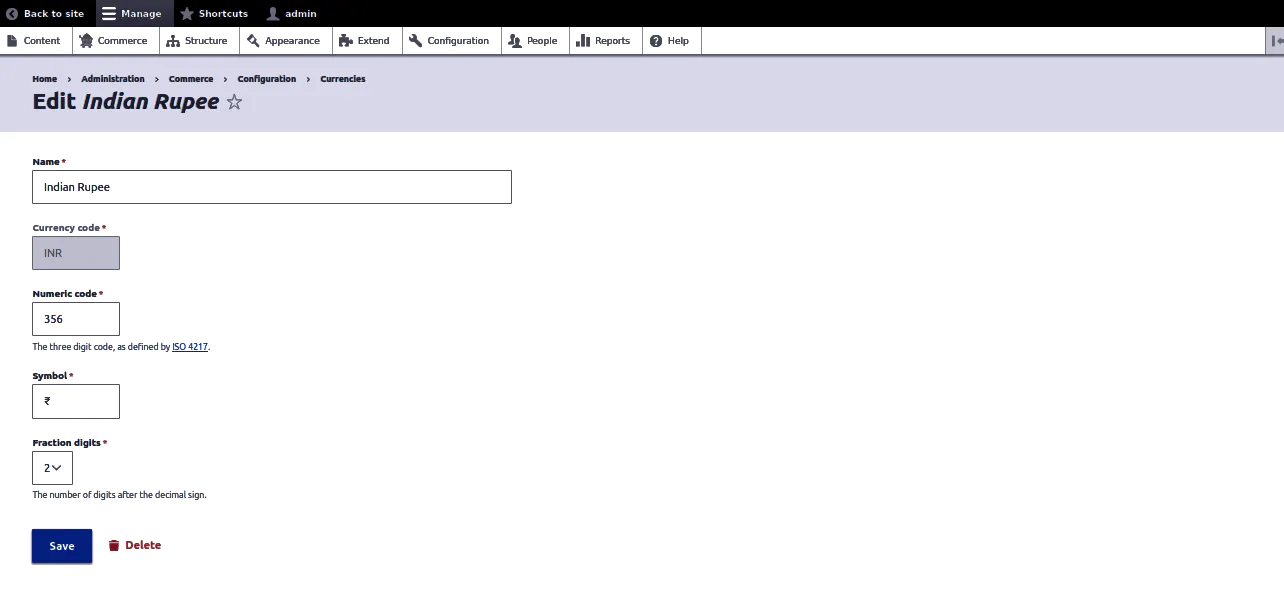
To add currency Indian rupee, navigate to:
- Home → Administration → Commerce → Configuration → Currencies
- Click on Add currency button.
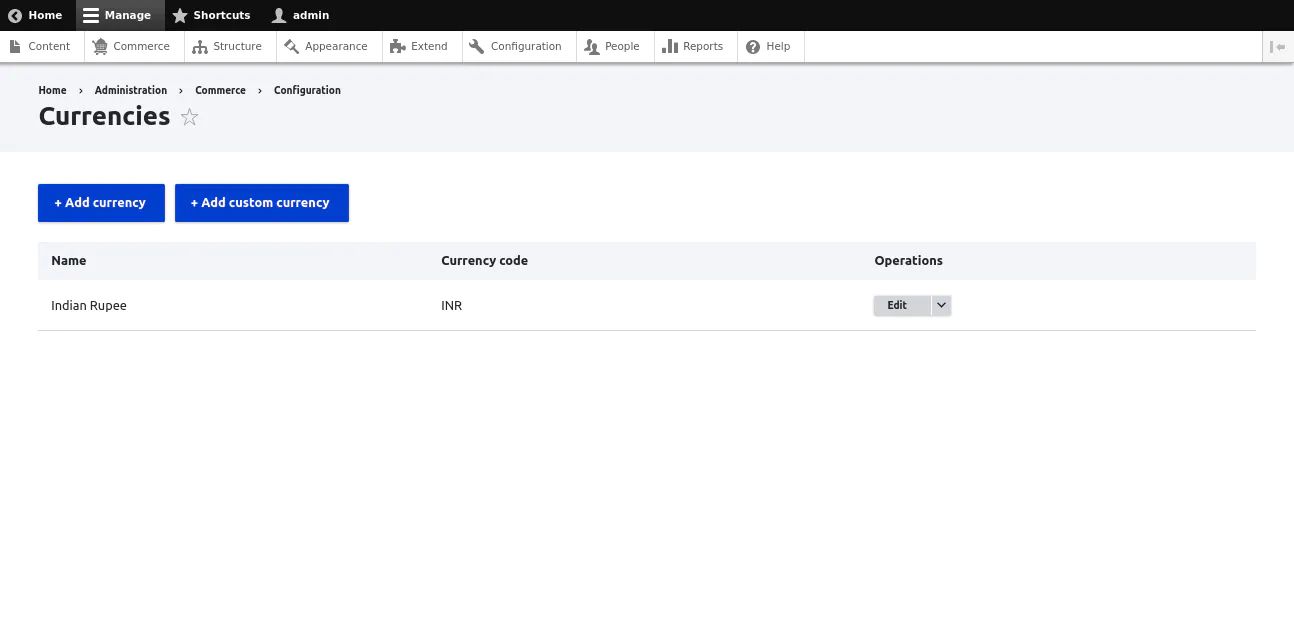
- Enter details and click on the Save button.
Integration Steps
Installation
- Click on the Download button to download plugin zip file.
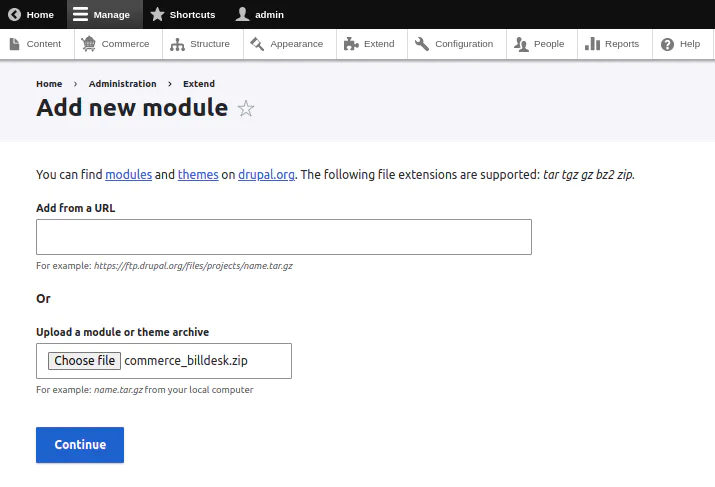
- Go to Extend → Add new module.
- Upload commerce_billdesk.zip and click on the Continue button.
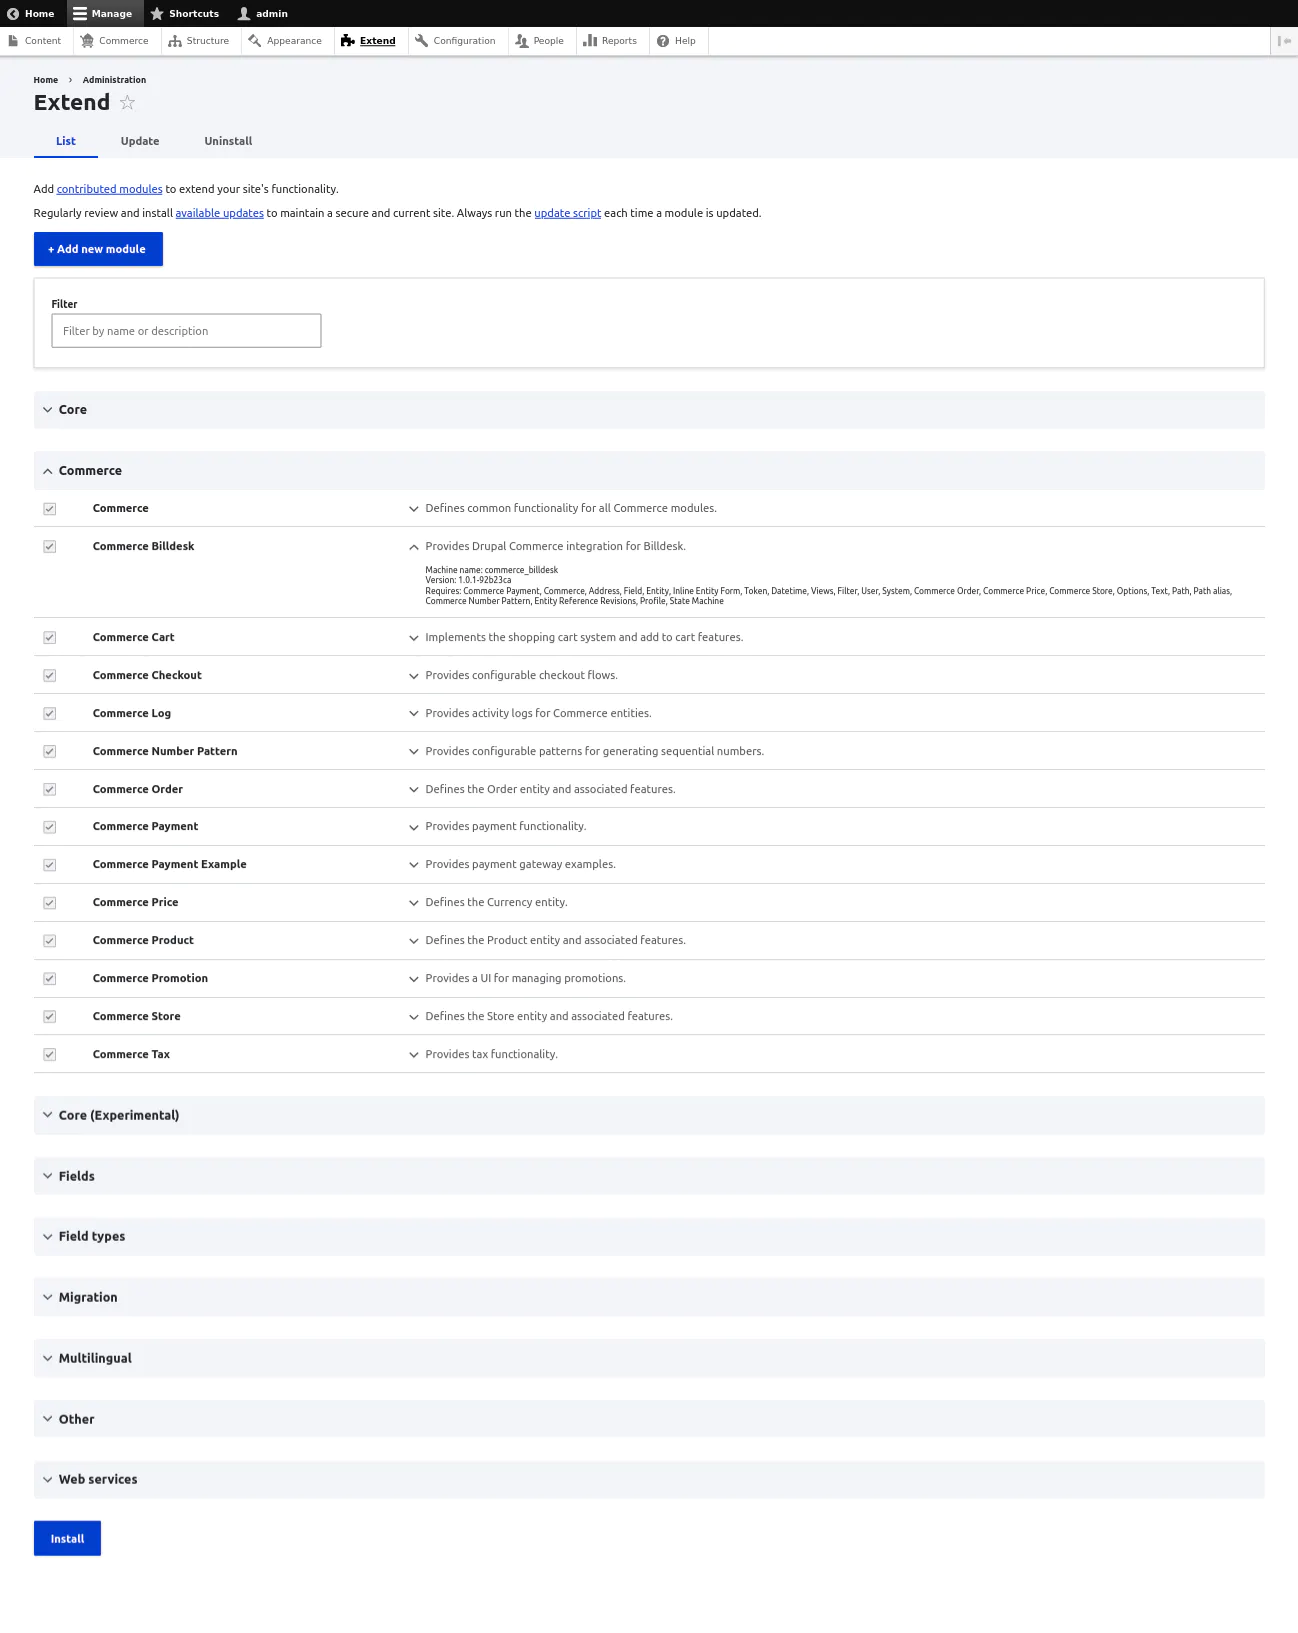
- Go to Extend, enable the commerce BillDesk module, and click on the Install button.
Configuration
- Go to Administration → Commerce → Configuration → Payment gateways.
- Click on Add payment gateway.
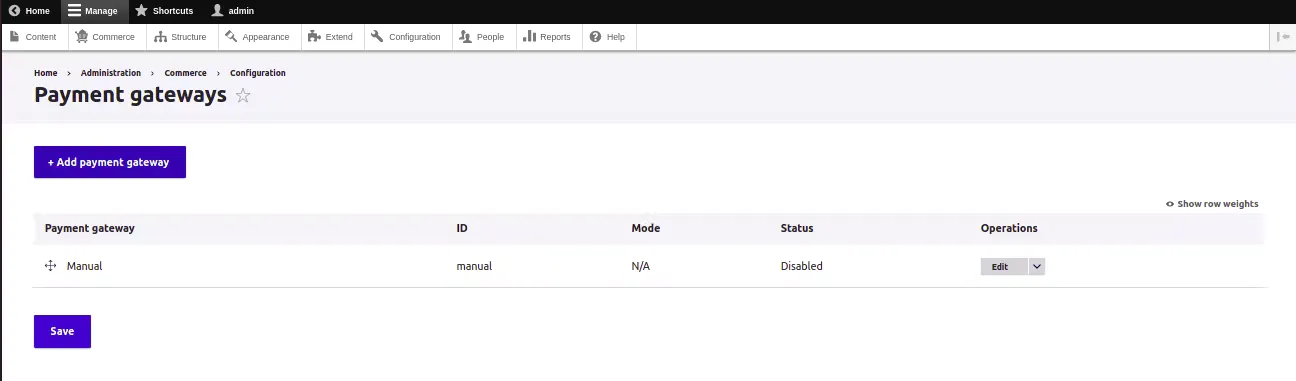
- Add the merchant configuration details.

Merchant would have obtained necessary details like Merchant ID, Merchant Key, etc. from the BillDesk team.
- Merchant Id - string - This is the unique ID created by BillDesk to identify the merchant.
- Encryption Key - string - An encryption key that is used to protect the communication with Payment Gateway APIs.
- Signing Key - string - A signing key that is used to protect the communication with Payment Gateway APIs.
- Key ID - string - The unique identifier of the public key shared by BillDesk
- Client Id - string - A client ID shared by BillDesk for accessing the Payment Gateway APIs.
- Item Code - string - Item Code as shared by BillDesk team.
- Merchant Logo - string - A URL or Base64 encoded logo of the merchant that will be visible on the payment dialog.
- Payment Categories - string - This option allows the merchant to configure the overriding of payment categories. Suppose a merchant only wants to show cards as a payment option, this can be controlled via this configuration. All allowed payment methods must be specified separated by a comma ( , ). Note that, since the payment methods name can be dynamic, there is no validation for this input at this moment. Valid payment category code are as follows:
- card - Credit/Debit Card
- emi - EMI
- nb - Netbanking
- upi - UPI
- wallets - Wallets
- qr - QR Code
- gpay - Google Pay
-
Retry Count - number - Controls the number of payment re-attempts that should be allowed to users on failed payment.
-
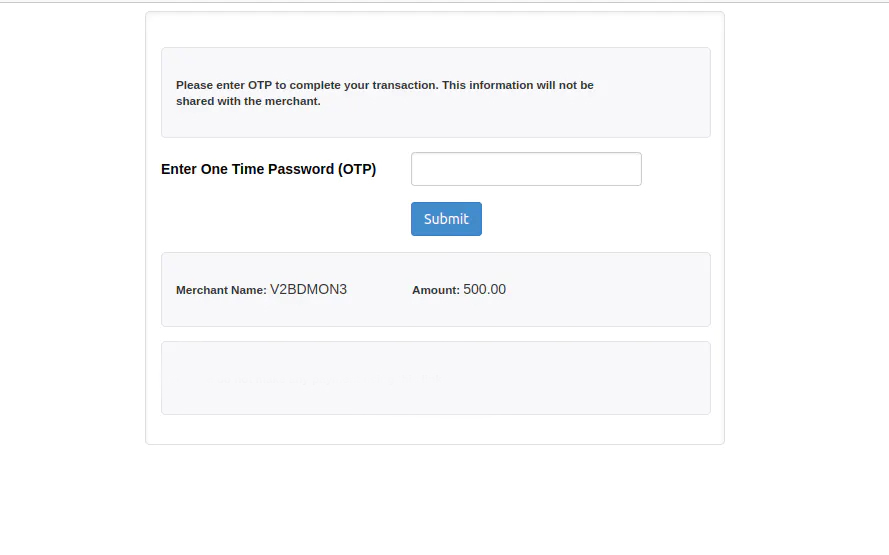
Child Window - number - Modal redirects the merchant page to bank URLs for processing the payment. “Child window” parameter gives an option to control the window in which OTP 2FA (two factor authentication) screen will open.
- True - In this case, a new window will open for OTP 2FA screen.
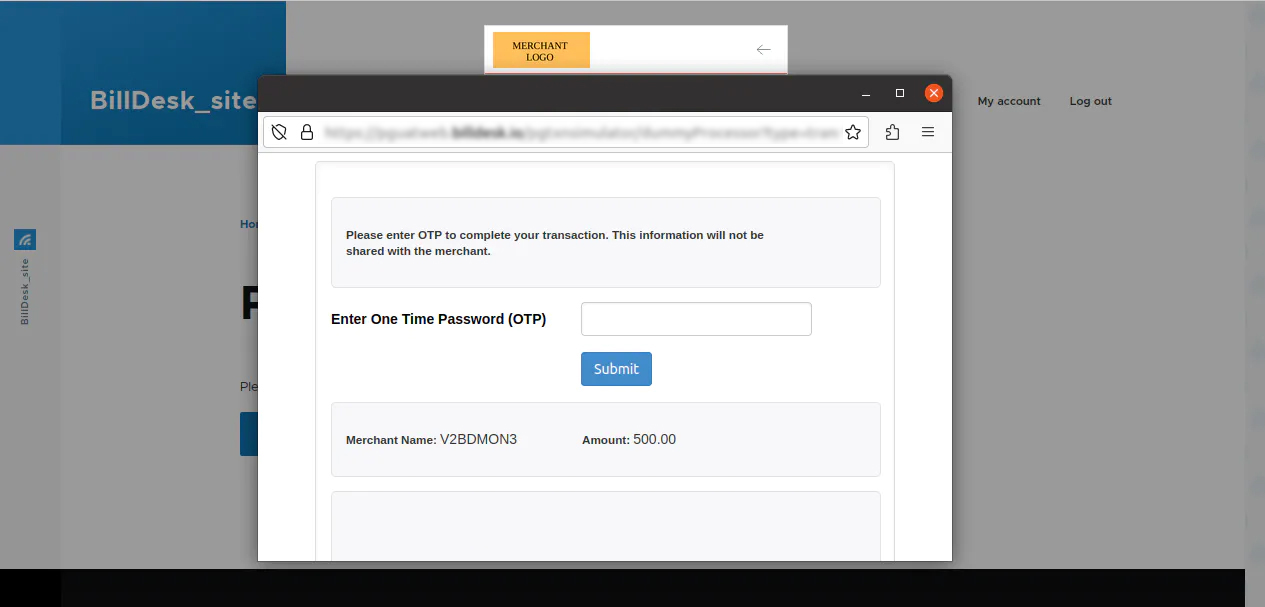
- False - In this case, the OTP 2FA screen will open in the same window.
-
Callback domain - BillDesk uses this URL to send the transaction response.
- Do not add an "/" after .com
- Merchant must include https:// or http://
- The domain must be reachable for the BillDesk servers, otherwise payments are not processed.
-
TEST PG CONNECTIVITY - Confirm the successful configuration by clicking on 'Test PG Connectivity'. If the configuration was not successful, check Troubleshooting for error code analysis.
-
Status - Set as Enabled.
-
Click Save Changes.
SuccessAt this stage, the BillDesk extension is fully configured. Merchant can now accept payments via the BillDesk payment integration.
Features
Payment
To make a successful transaction
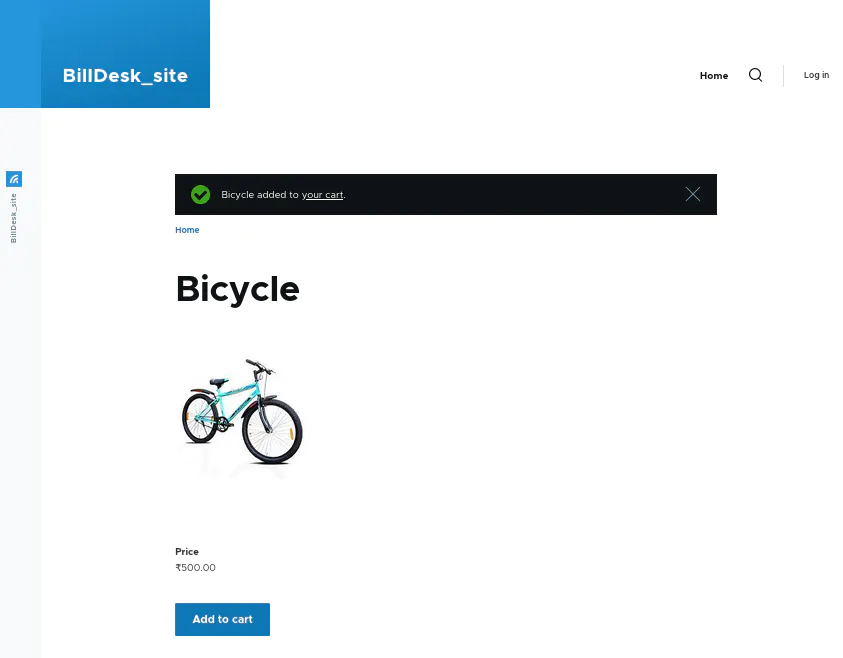
- Go to Your Store.
- Login or create an account.
- Add a product in the cart and checkout for purchase.
- Select BillDesk as the payment method and click on Continue to review.
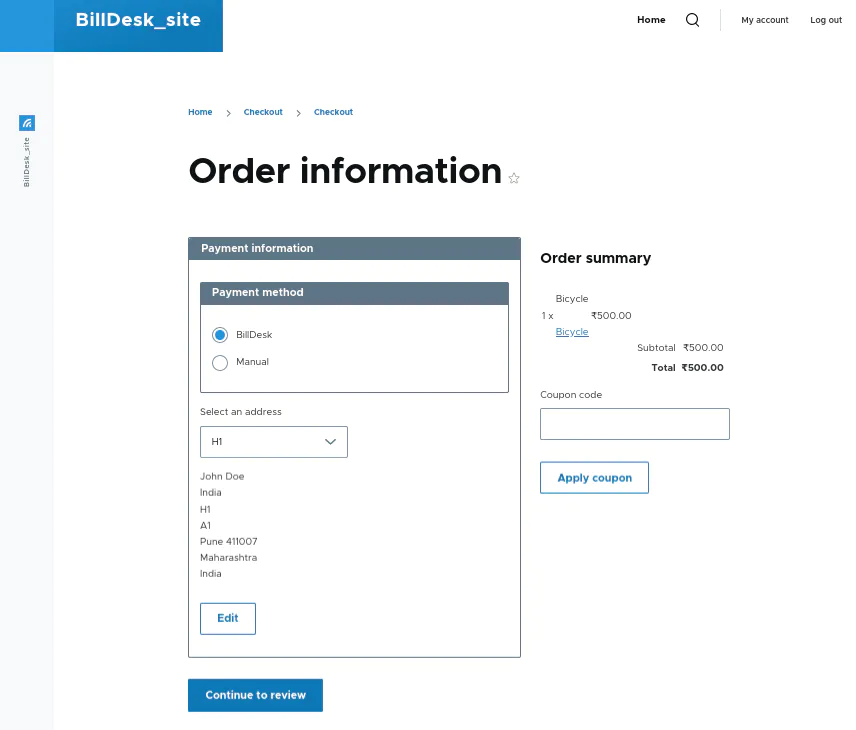
- Click on the Proceed to BillDesk button.
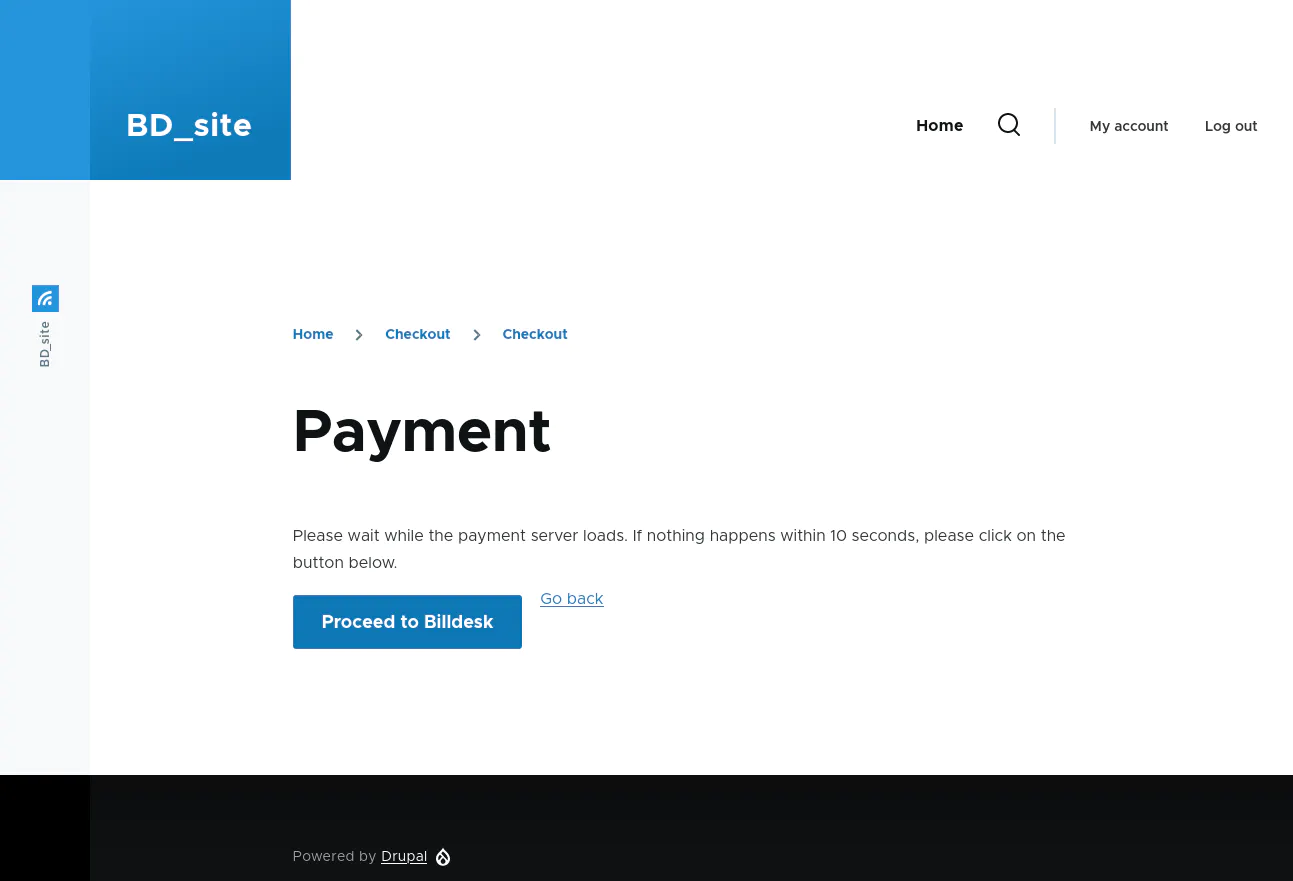
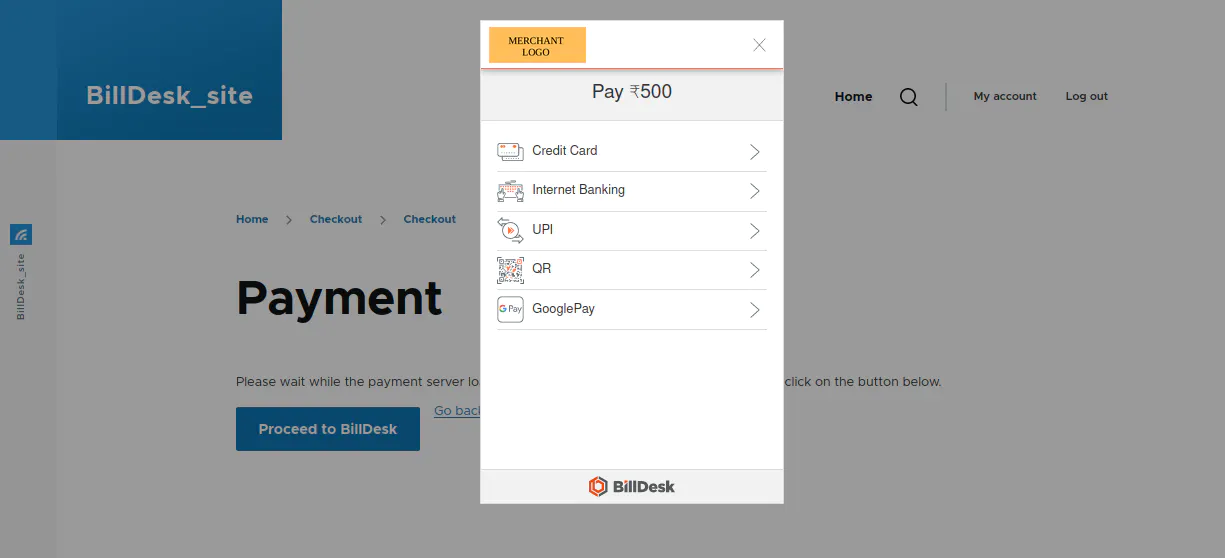
Merchant will be redirected to a BillDesk modal screen.
On the BillDesk payment options modal screen, the merchant logo will appear as per the configuration done.
As a sample, Cards as a payment method has been selected in the screen below.
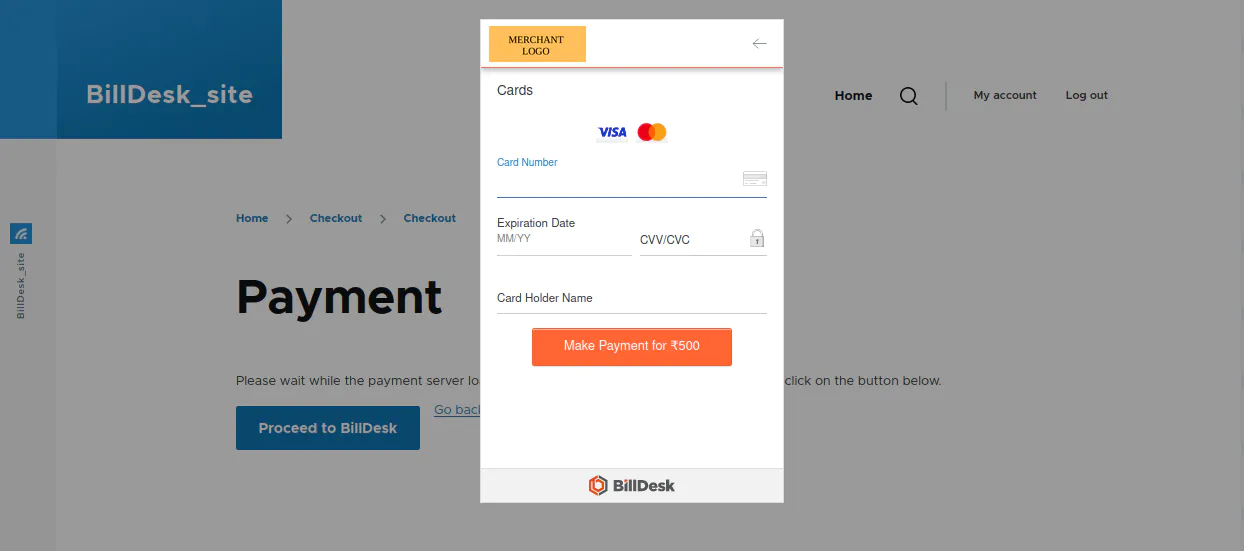
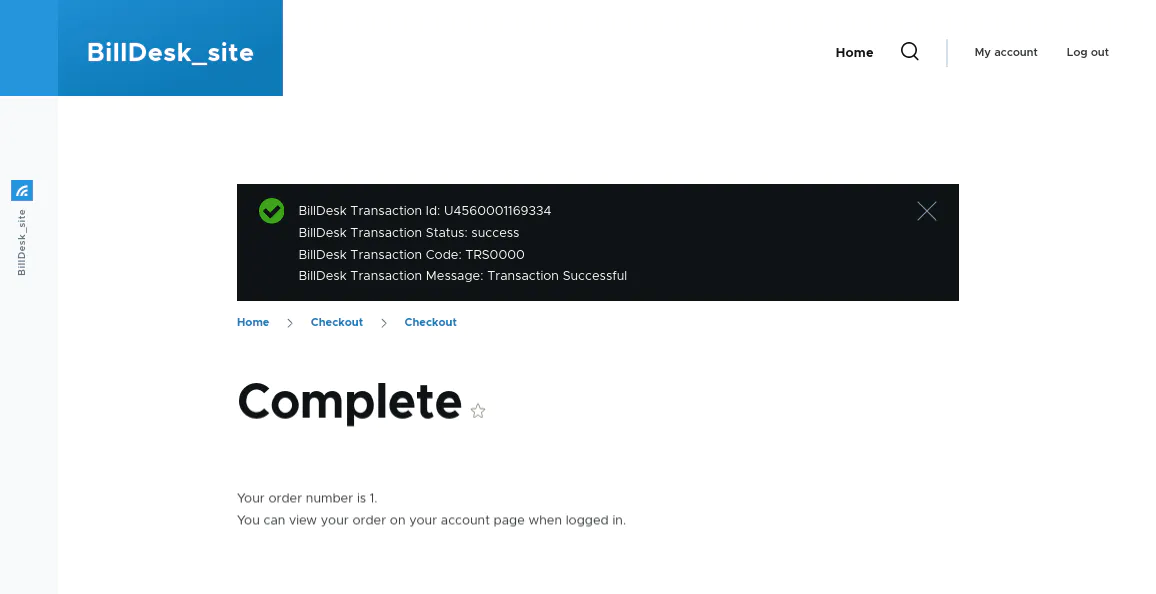
After a transaction is successfully completed, a confirmation message will be displayed.
Order Listing
To view order details:
- Navigate to Home → Administration → Commerce → Orders.
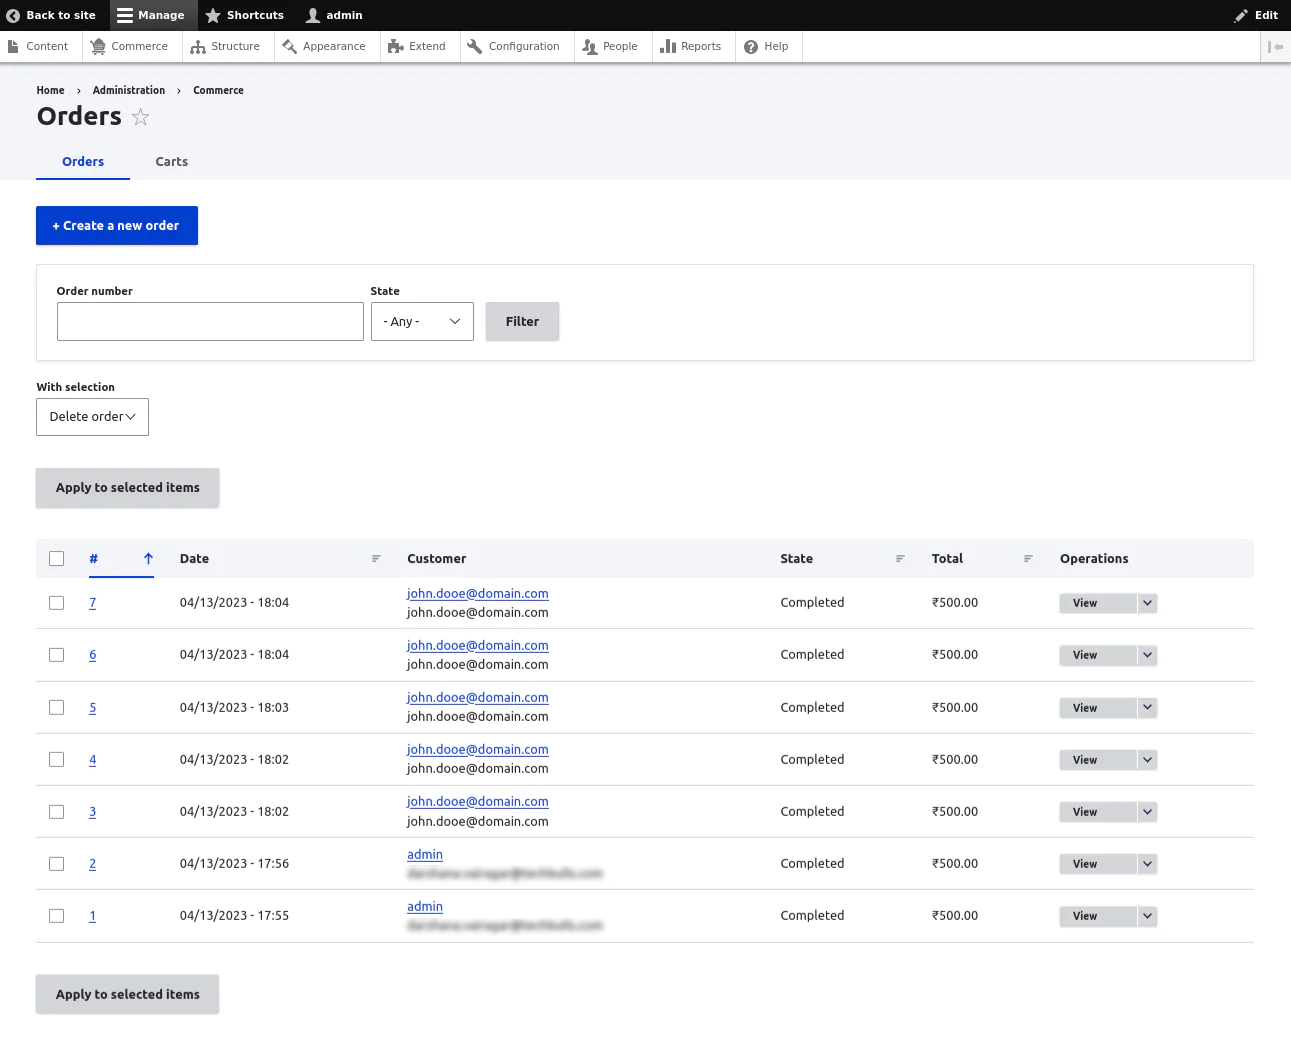
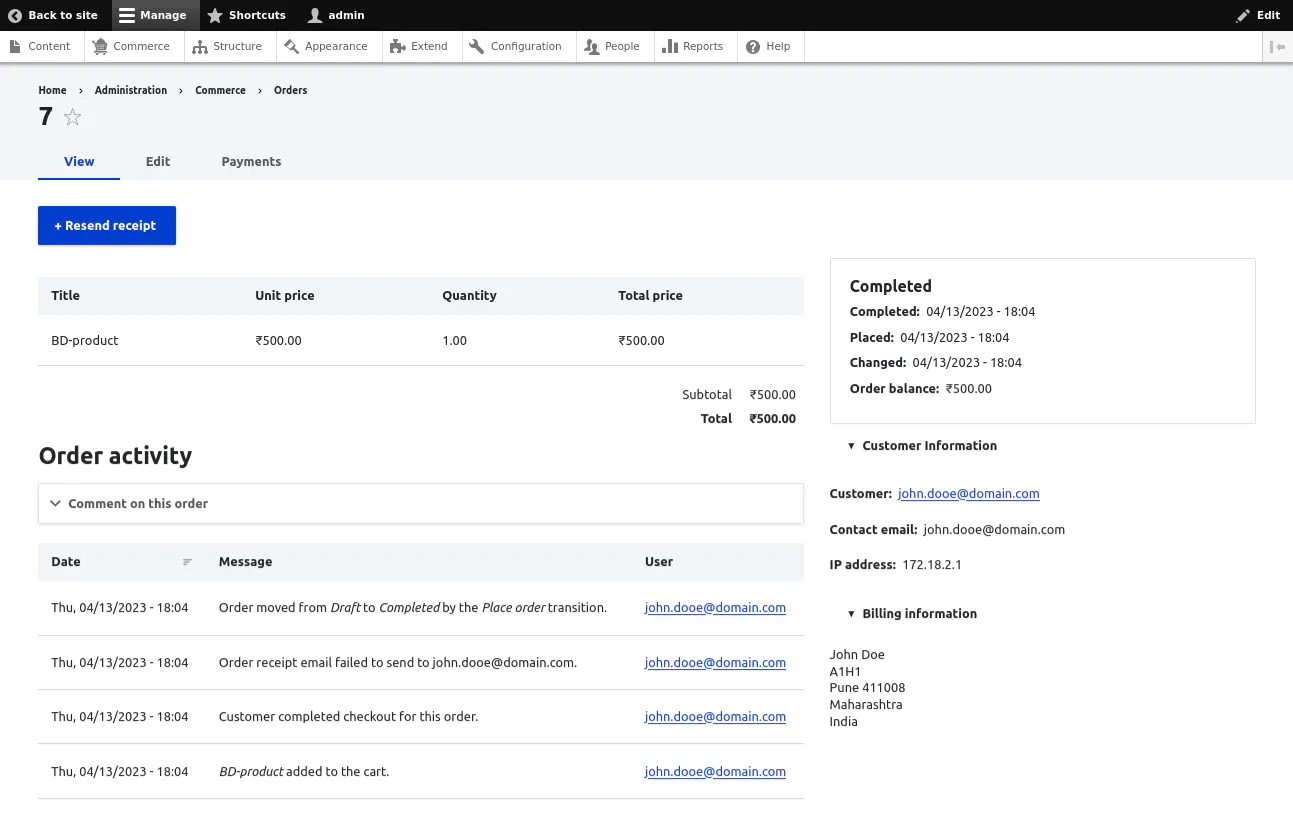
- Select an order and click on the View button.
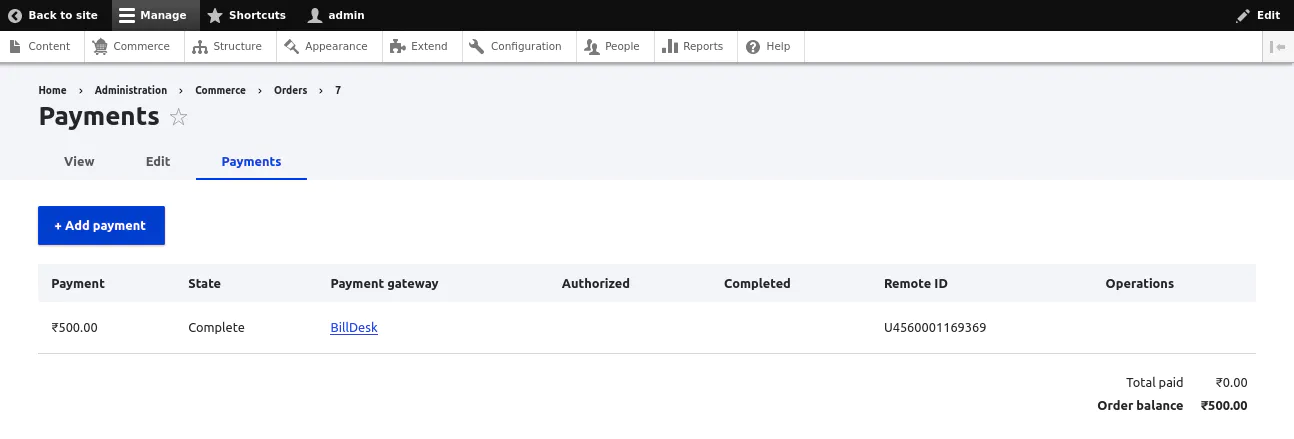
- Click on the Payments tab to check 'BillDesk Transaction ID' (mentioned under Remote ID).
Troubleshooting
Drupal Commerce plugin logs are maintained in admin/Reports/Recent log messages/, where the merchant can check the reason of failure.